Step 1: Sign Into Your Chatbase Account and Set Up Your AI Agent
- Sign up for a free Chatbase account if you don’t already have one.
- Log into your Chatbase account and navigate to the agent creation page.
- Provide training data for your new agent by uploading sources like text snippets, documents, website content, or Q&A pairs.
- Train and test your agent in Chatbase until it responds accurately to queries.
New to Chatbase? Check out Your First Agent to get started with the embed script first.
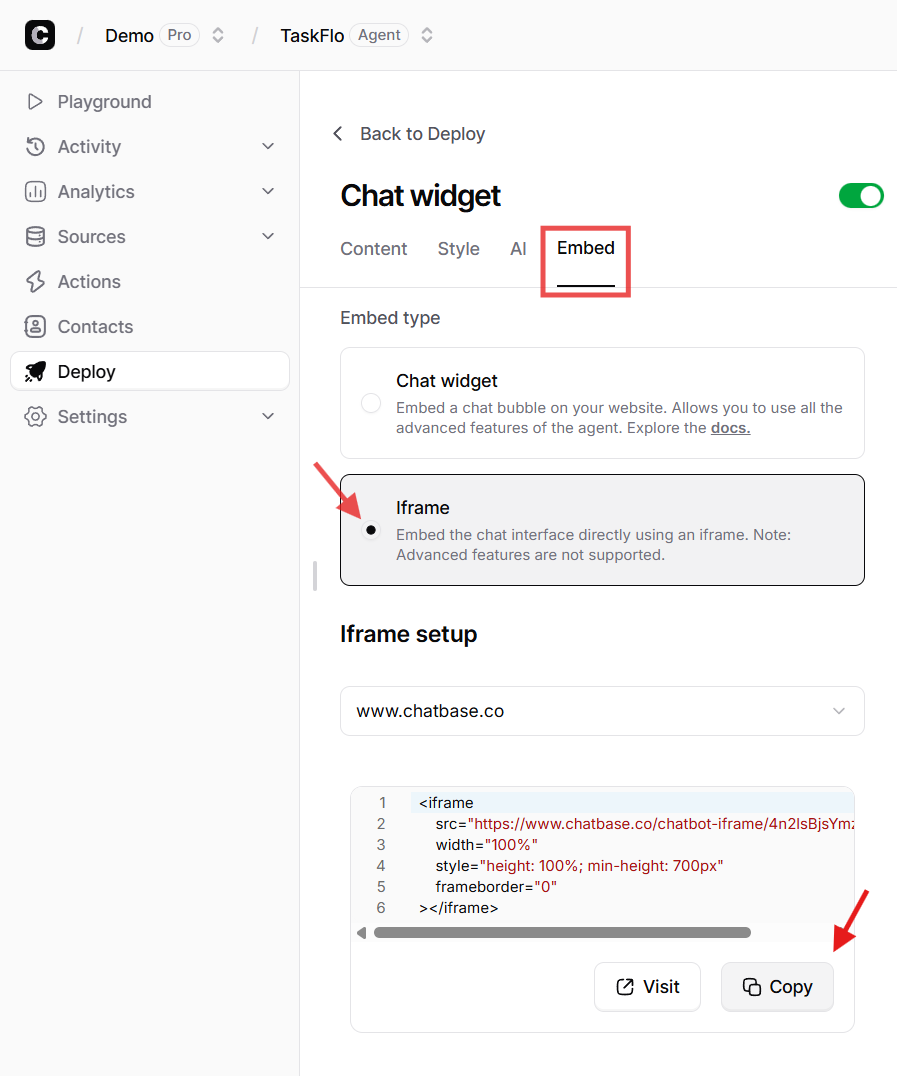
Step 2: Copy Your AI Agent Embed Code
Once you’ve set up and tested your Chatbase agent, you’ll need the embed code to display the agent widget on your website. To do this: 1. Go to the dashboard of your Chatbase account. 2. You should see a list of agents, click the agent you wish to integrate into your Webflow website. You should be taken to the agent’s preview page.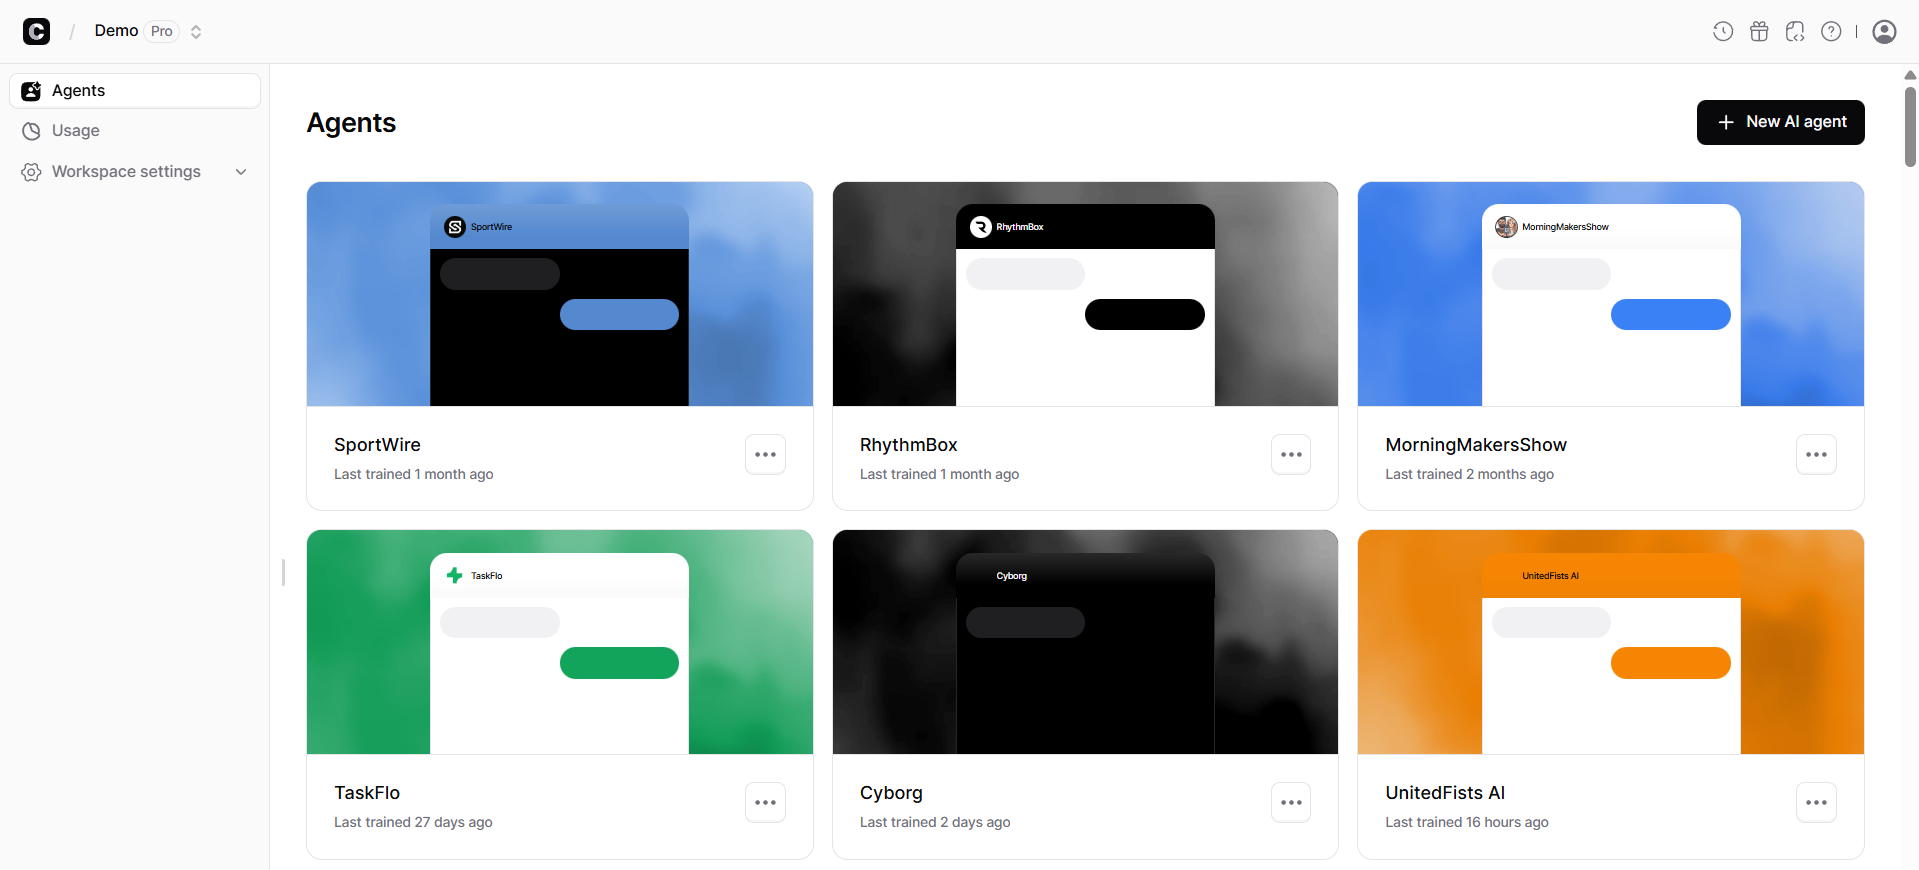
![Chat Widget [Manage]](https://mintlify.s3.us-west-1.amazonaws.com/chatbase/user-guides/integrations/images/Integrations/chatwidget-manage.png)
Step 3: Set Up a Container to Display Your Chatbase Agent Widget
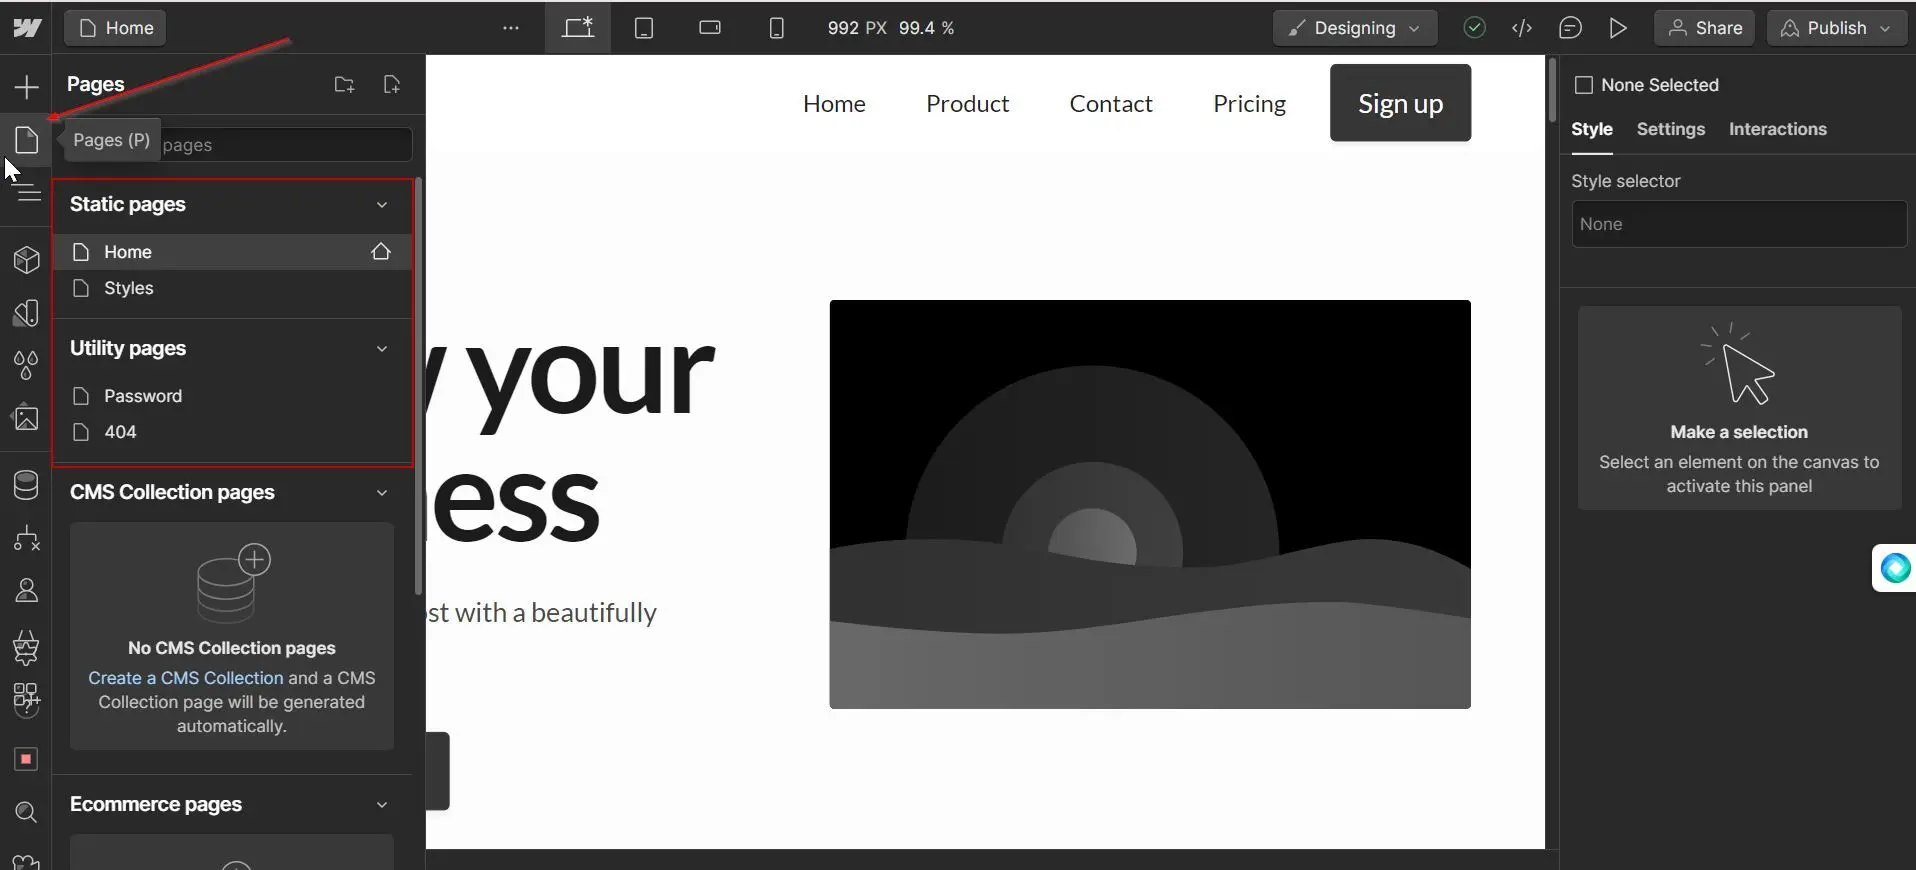
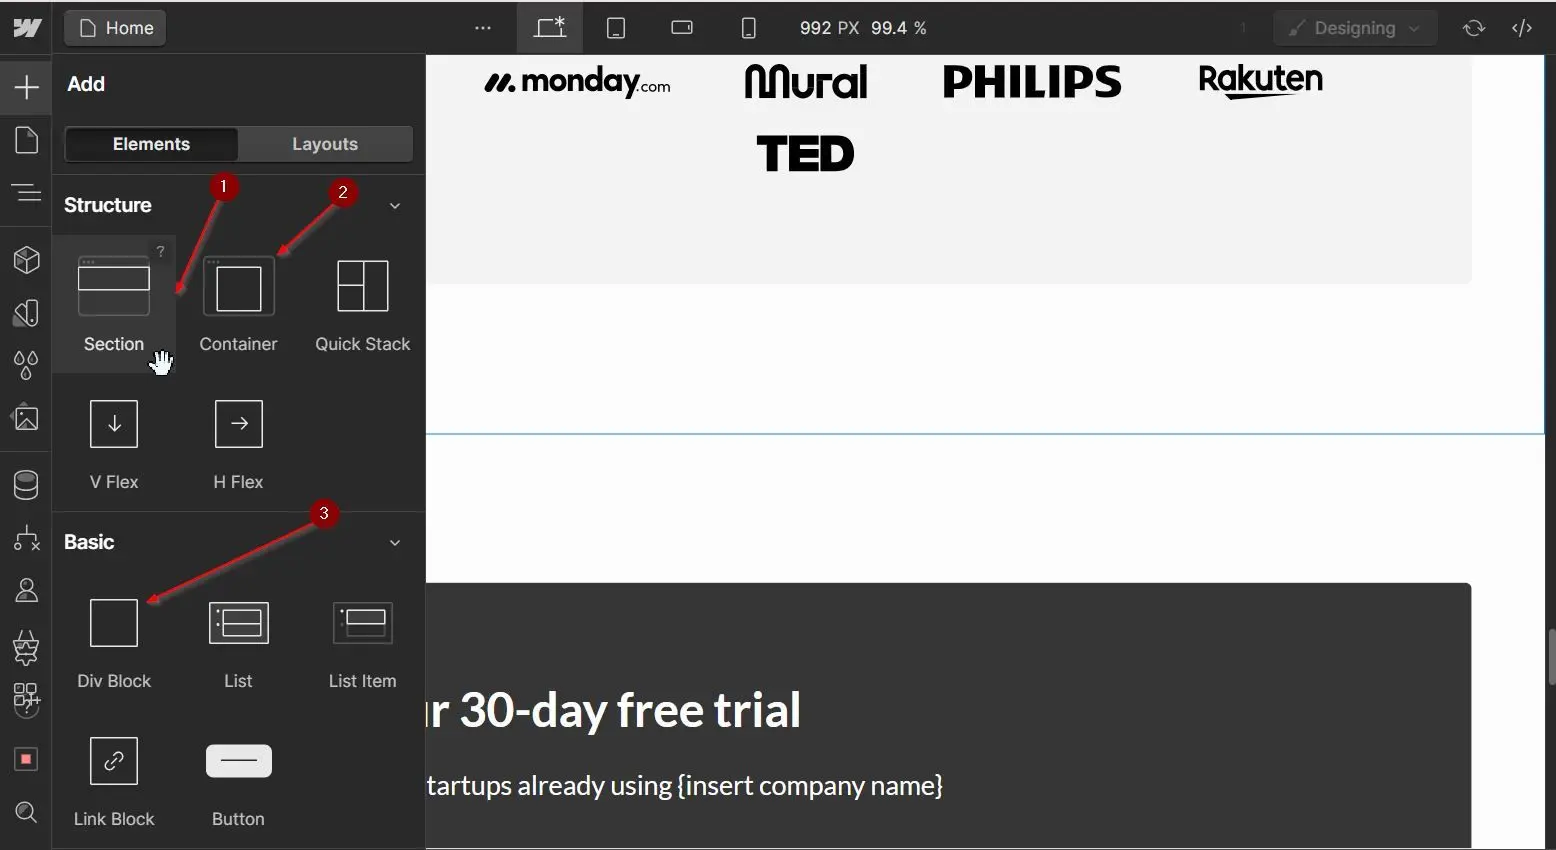
Before adding the embed code to your Webflow site, you will need to create a container to display the widget. This will ensure that the widget is displayed in the correct place on your website and doesn’t extend the entire width of the page. 1. To create a container, on Webflow, log into your Webflow account and go to your dashboard. 2. On your Webflow dashboard, you’ll find a list of all your website projects, hover on the website you want to add the agent to and click on Open Designer.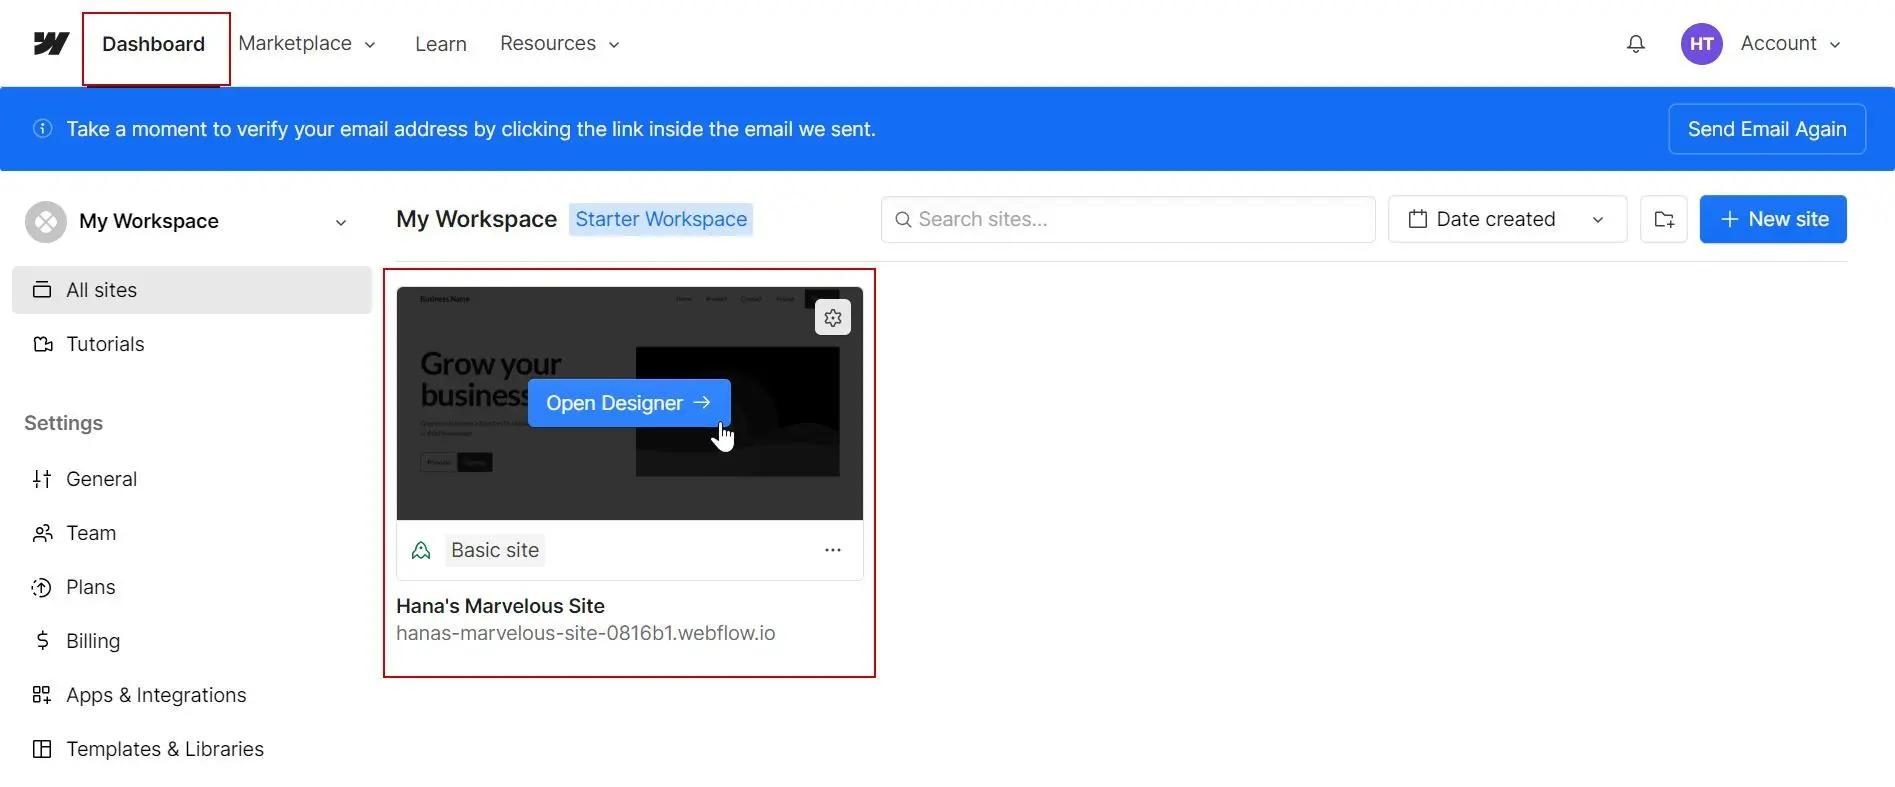
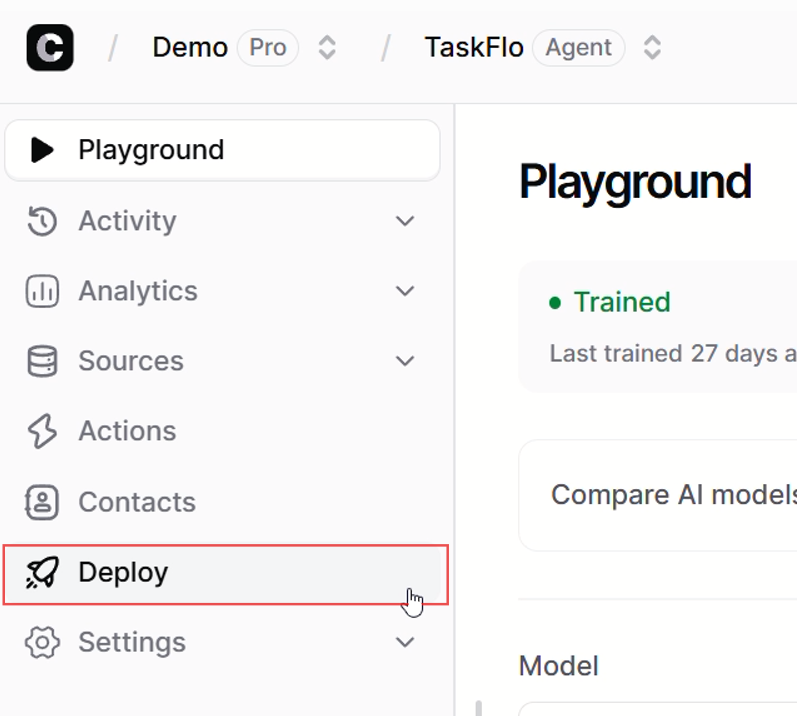
Note: You can customize the appearance and colors of your agent on your Chatbase dashboard. To do this, go to your dashboard, choose an agent, click the Deploy tab on the top of the page, and then click Manage Chat Widget on the left sidebar to reveal the agent customization options.