Attachments are supported, allowing your agent to process them and respond based on their content. For more information, please refer to this section.
Connecting to Messenger
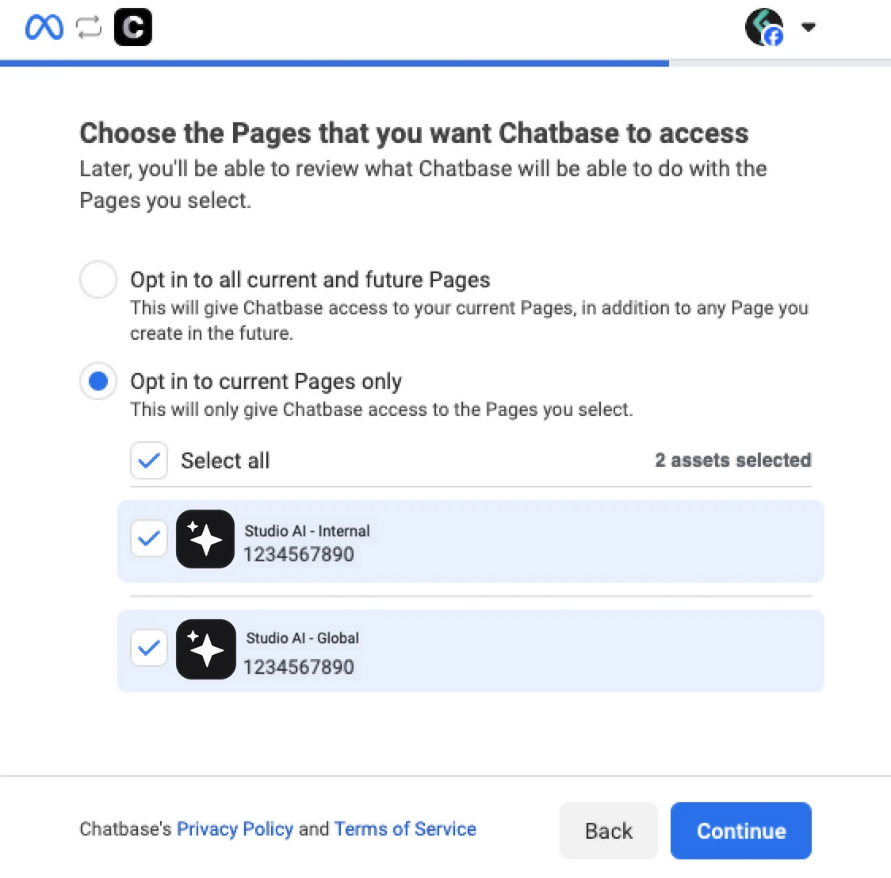
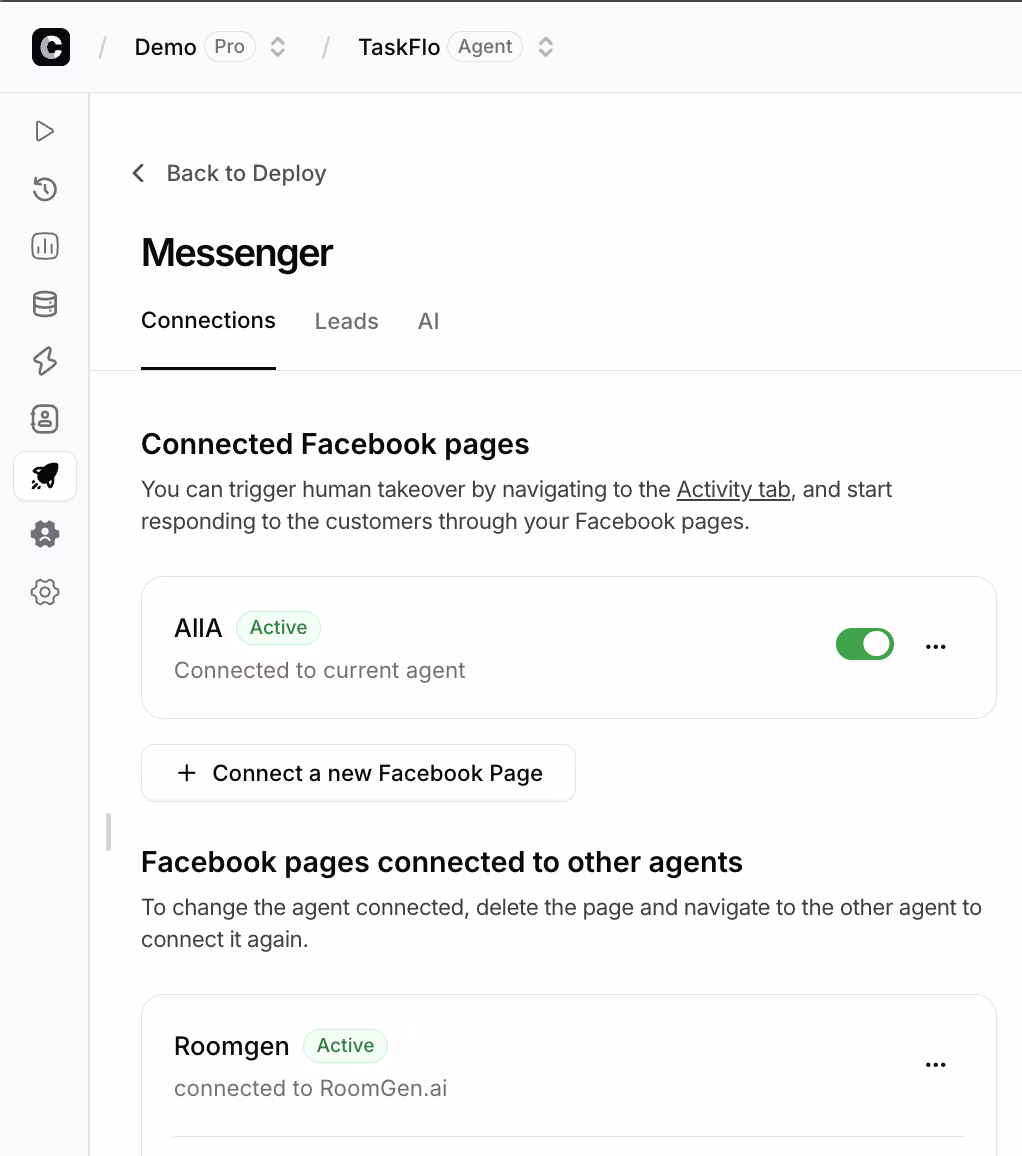
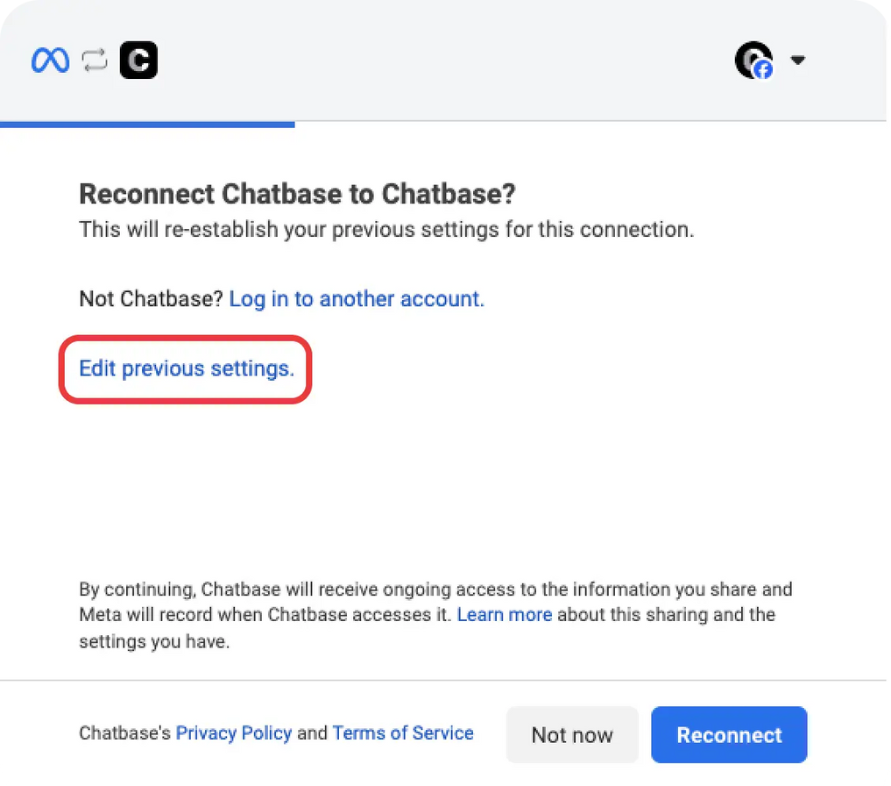
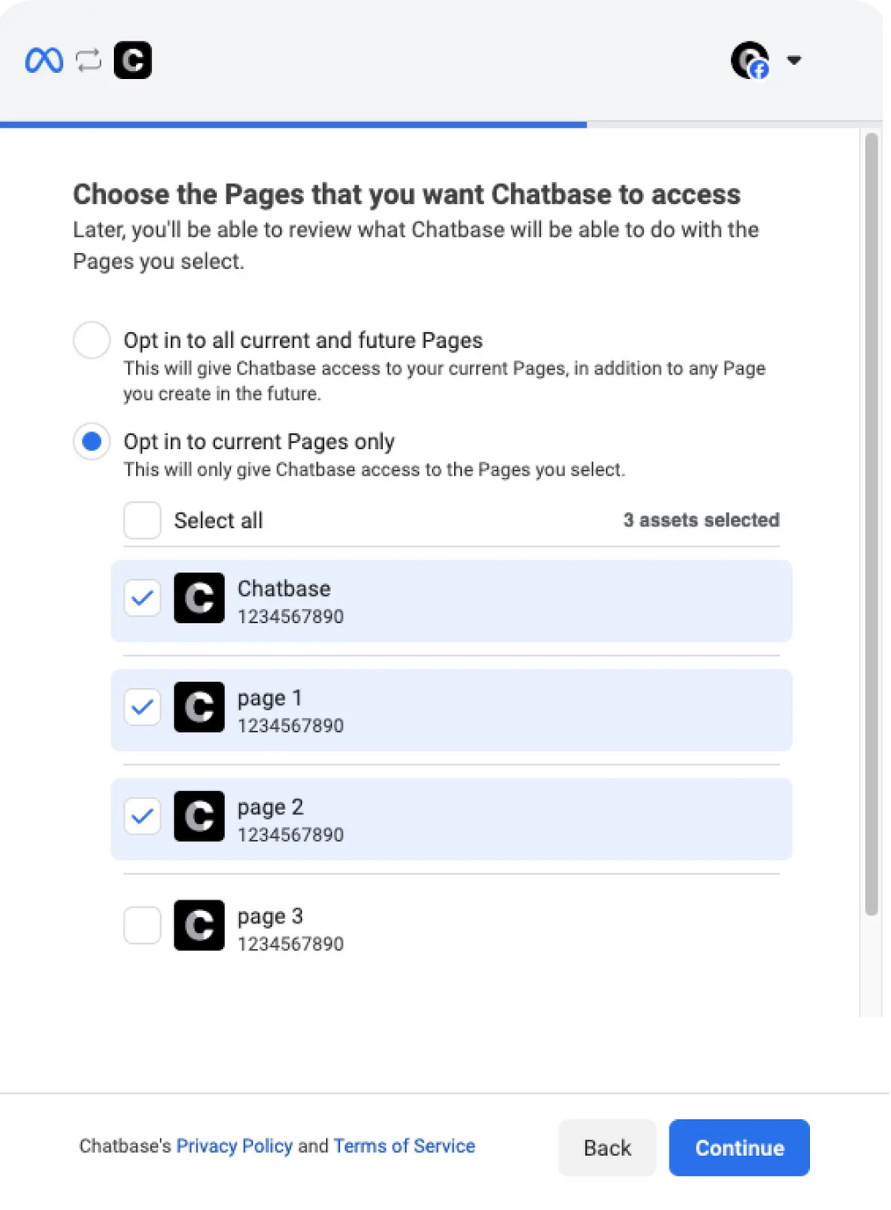
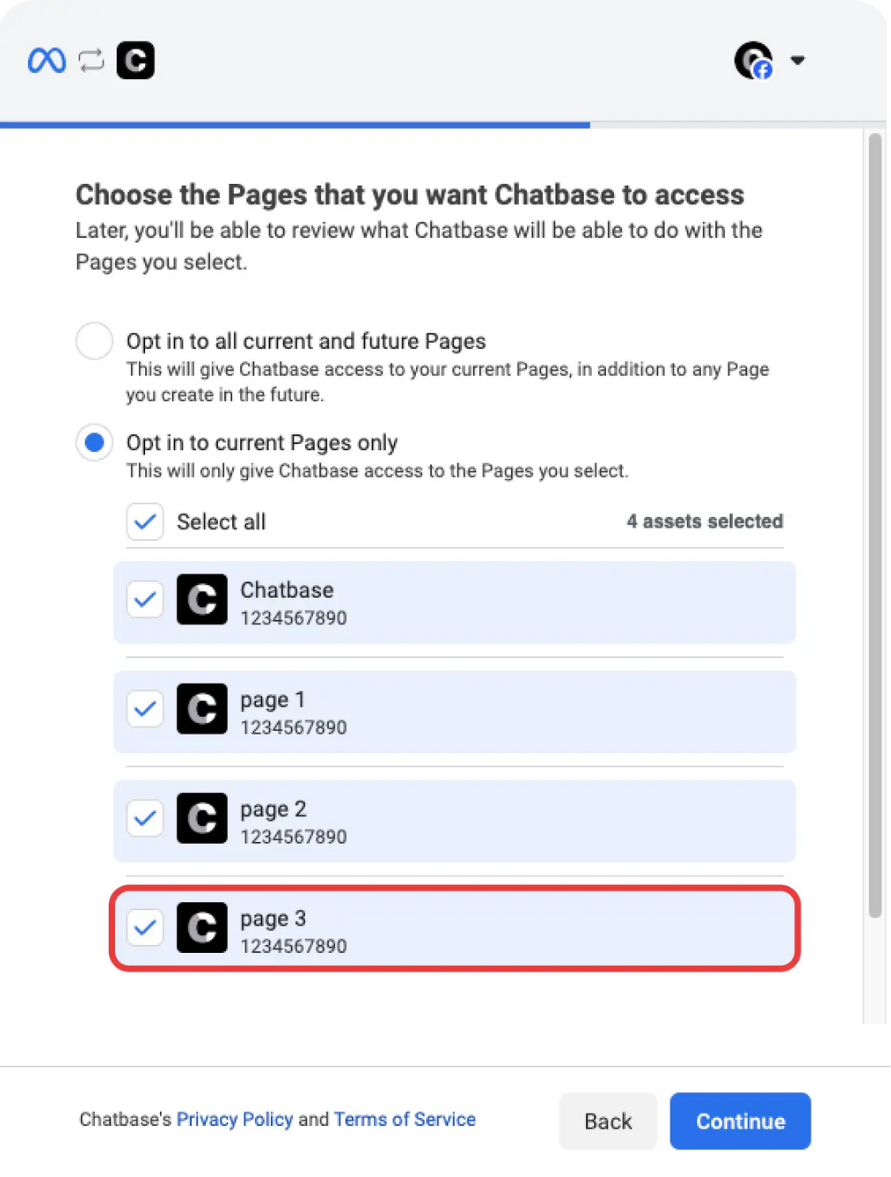
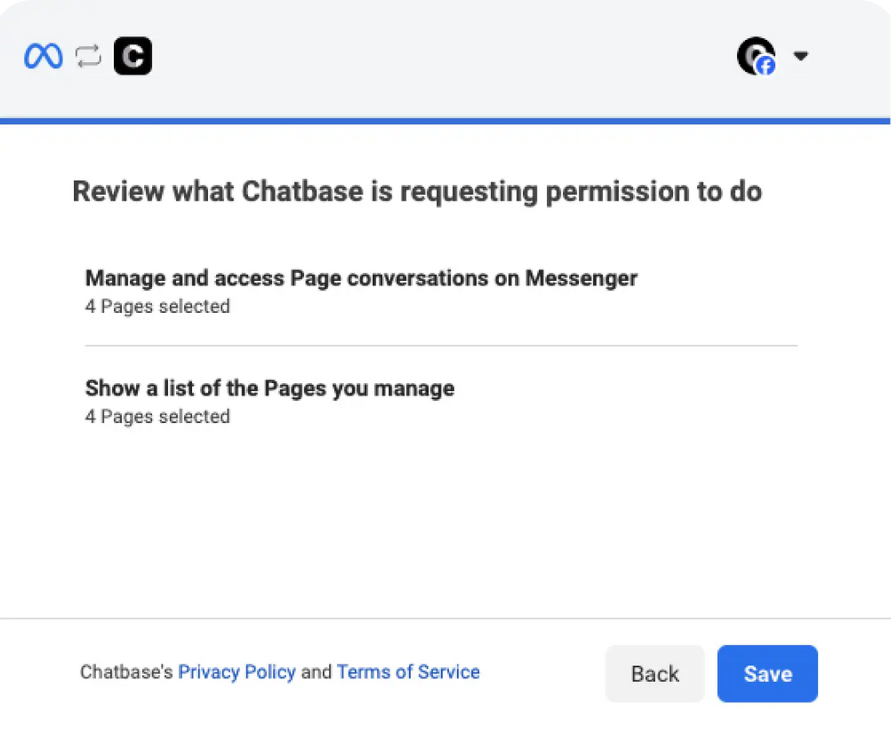
1. First navigate to your dashboard, and pick an agent. 2. Navigate to Deploy. 3. Click on ‘Setup’ if it is the first time you use the integration or manage, if you already connected pages before. 4. If this is the first time you will be asked for permission to allow chatbase to use your information. Note: if you integrated some pages and would like to modify your selection pick the Edit Previous Settings option.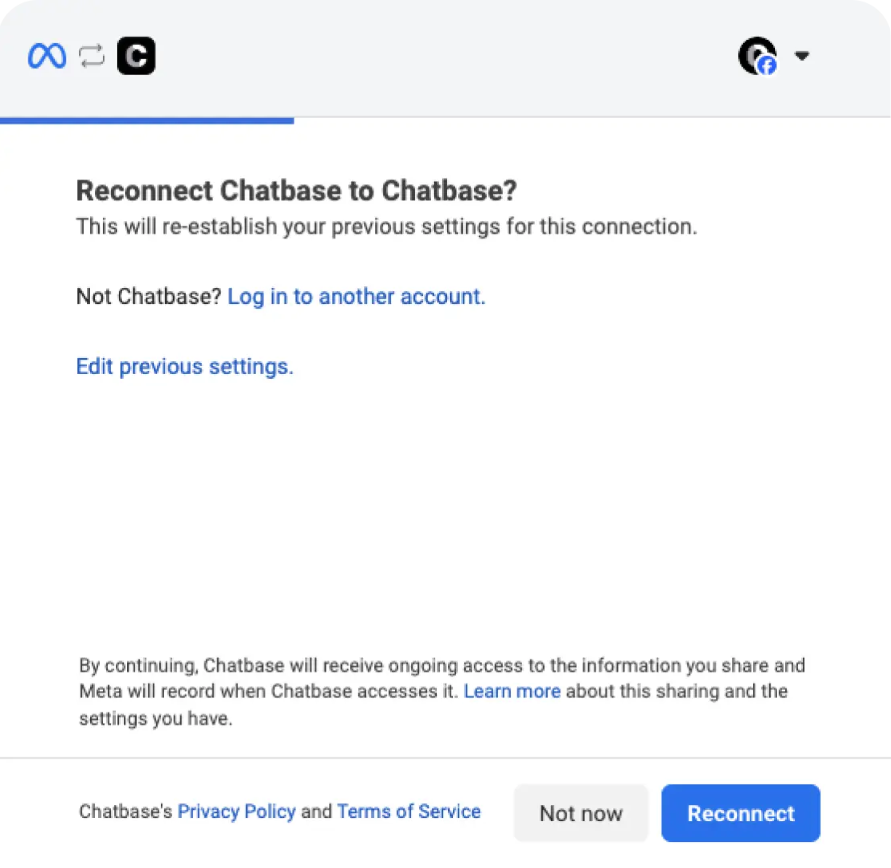
Human Takeover Feature
The human takeover feature allows you to takeover the chat whenever you would like and chat with users yourself! It works on a conversation level meaning you would be able to choose a specific conversation from the dashboard and stop the agent from answering that conversation.Note: some conversations may not have the human takeover icon, that happens when you delete a page from the integrations dashboard, you would still have access to your conversations in the chat logs, but since the integration was deleted you will not have access to the takeover feature since this page’s integration was deleted. This will also happen if you delete a page and add it again, so be careful when deleting pages from the messenger dashboard.
Enable human takeover for a specific conversation
1. Navigate to Activity either through the Navbar or through the messenger dashboard. 2. in the Chat logs section make sure to show only messenger chats. 3. Click the human takeover icon to the right of source. 4. Click the icon to enable human takeover.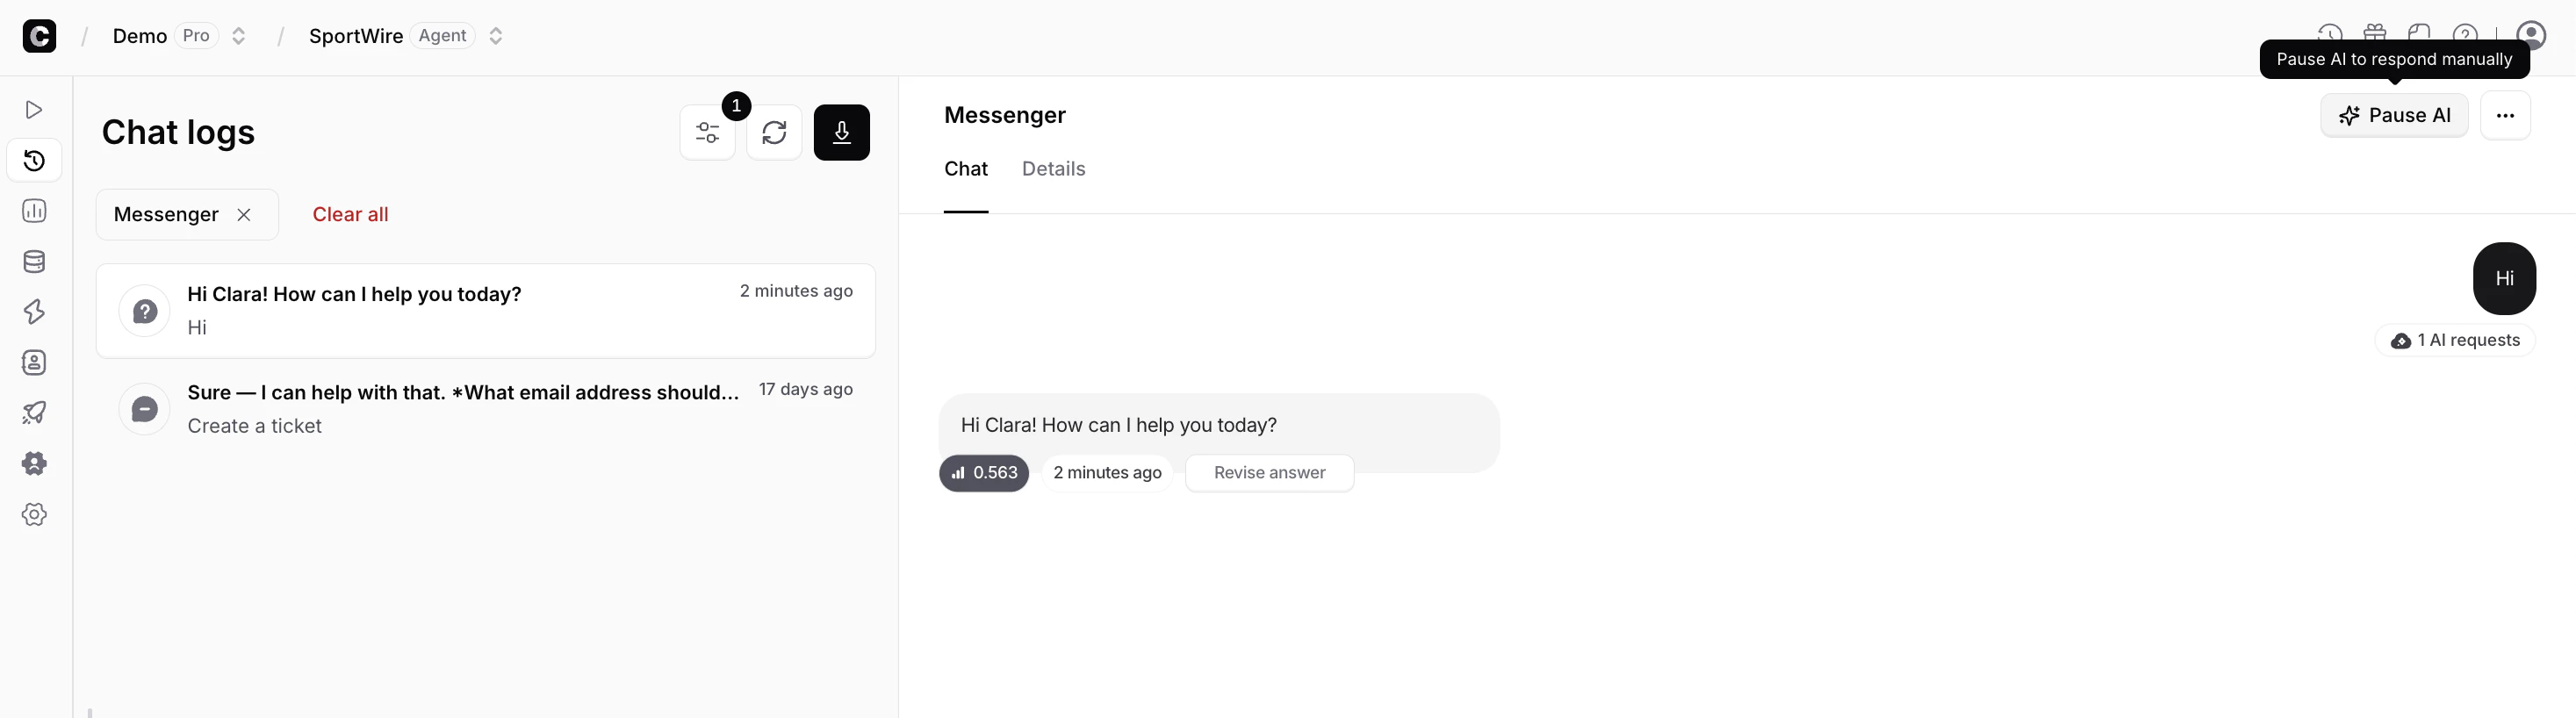
Connecting Different Agents to Different Pages
With the Chatbase Messenger integration, you can connect different agents to various pages. This capability allows multiple agents to manage different Facebook pages, providing specialized interactions for each page. here are the steps to adding different agents to different pages. 1. After connecting the first page(s) you should now have access to the manage Facebook pages integrations page. navigate to the agent you want to connect then Deploy > Manage.
You can now enable or disable Messenger integration without disconnecting it. Disabling pauses messages while keeping your setup intact, and you can re-enable anytime to resume. New chats will still appear in your Chatbase dashboard chat logs.