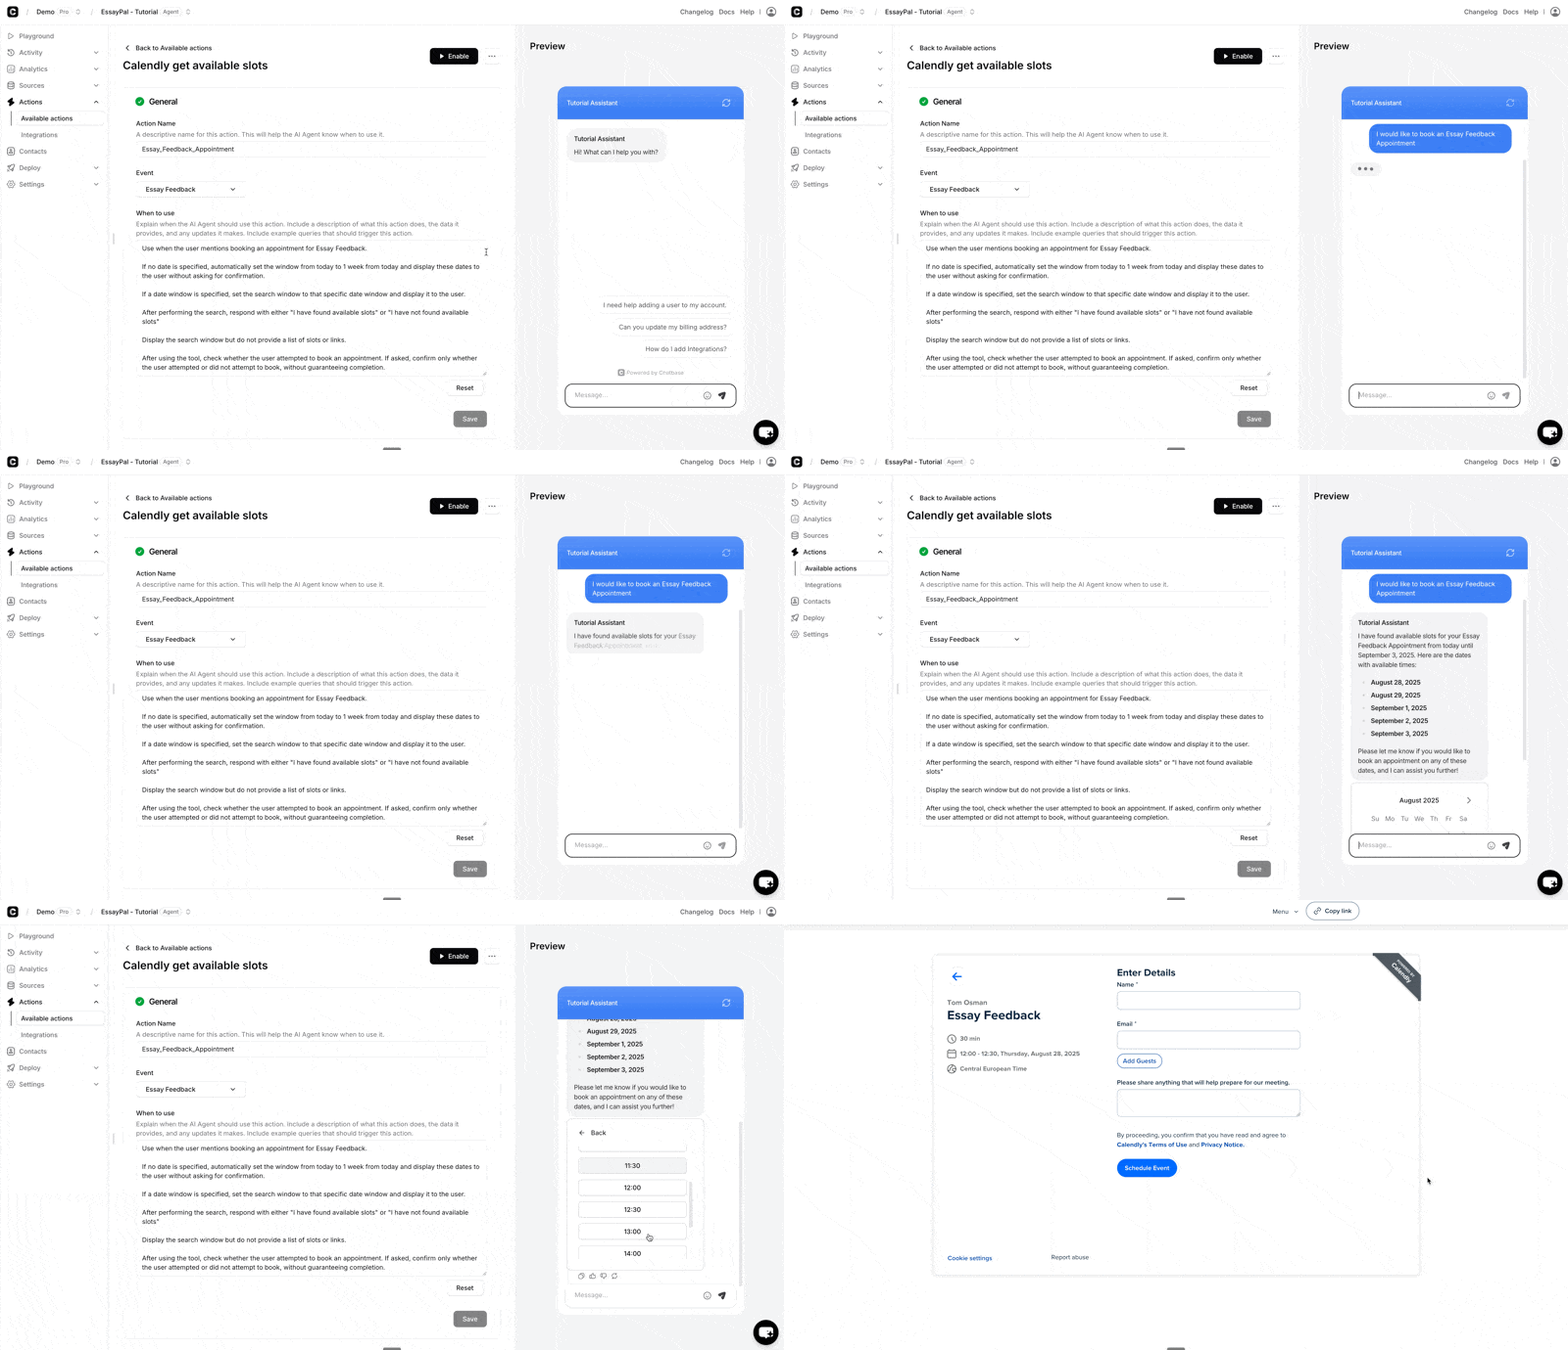
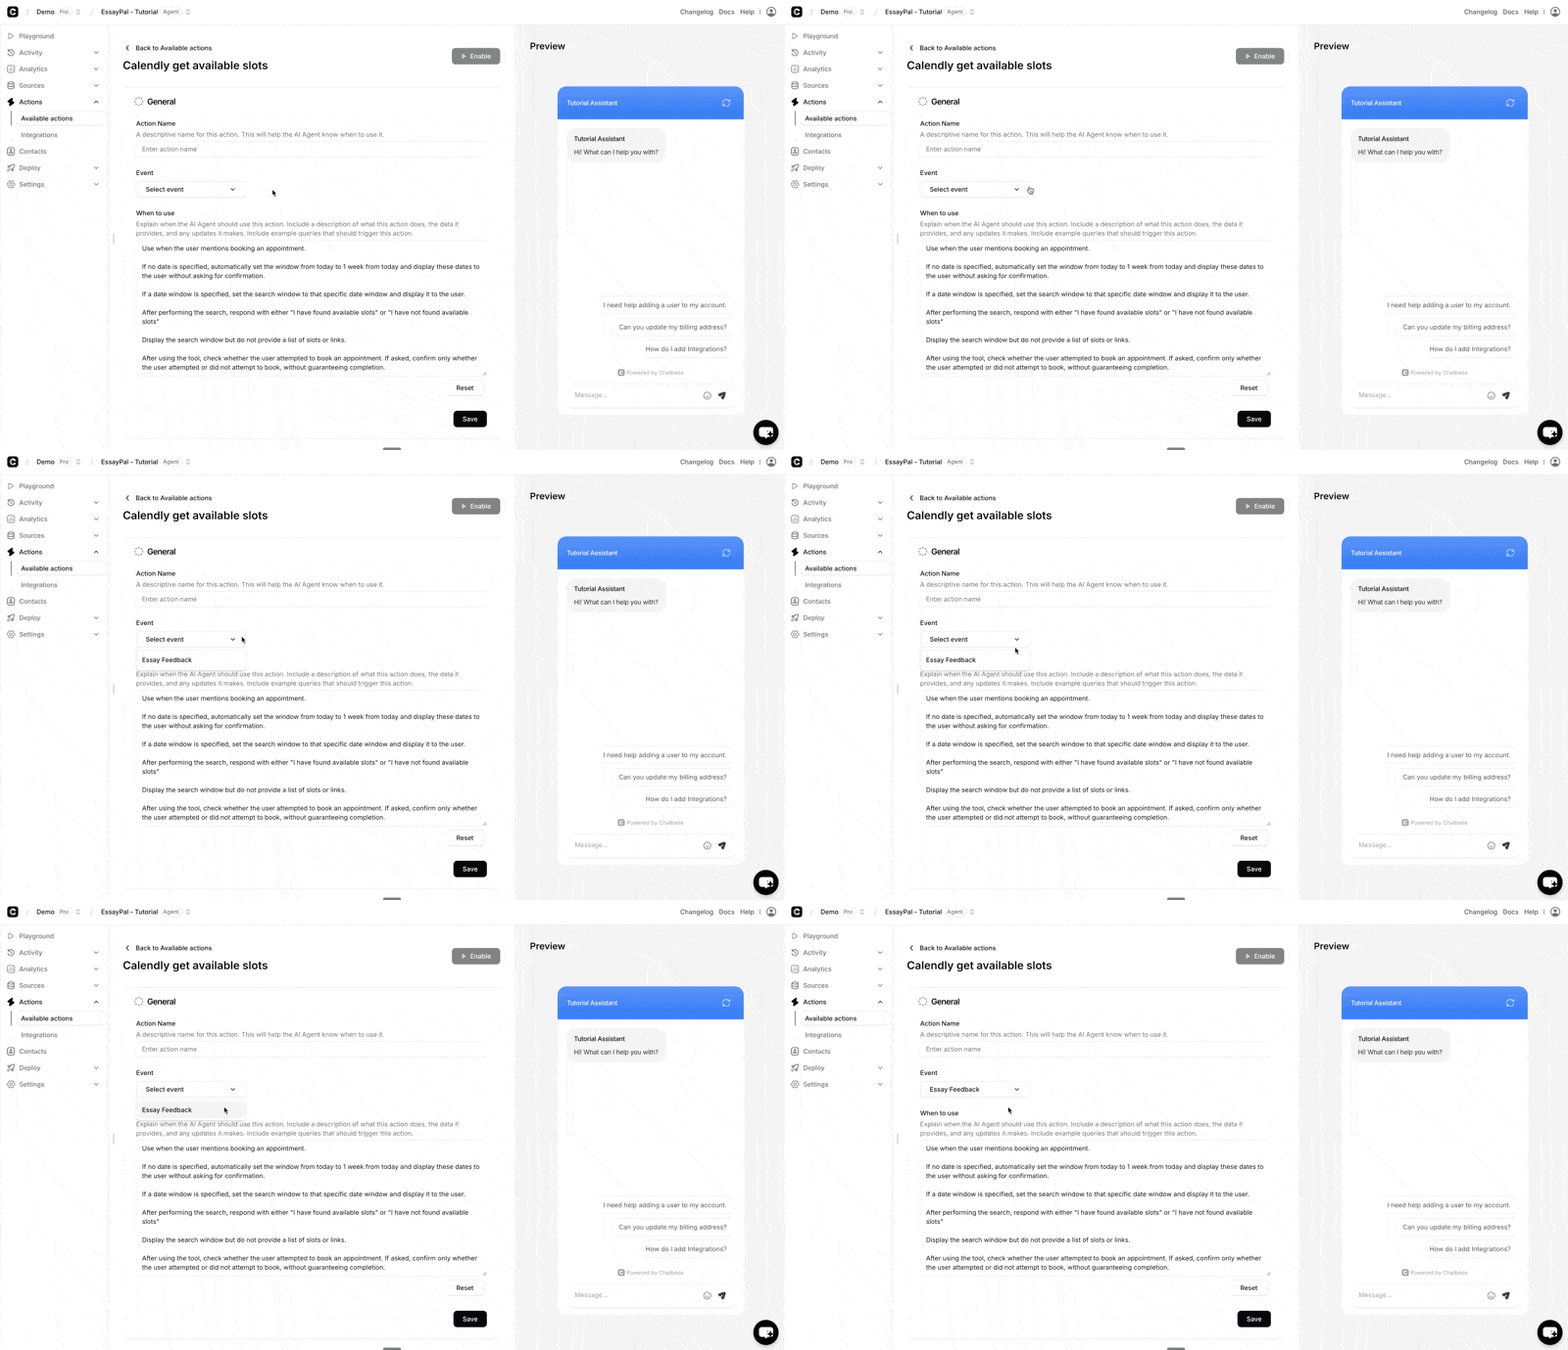
When to use:
This is where you specify when exactly this action should be triggered or what type of customer queries would trigger it. You can also add in some instructions that the bot should adhere to when this action is triggered.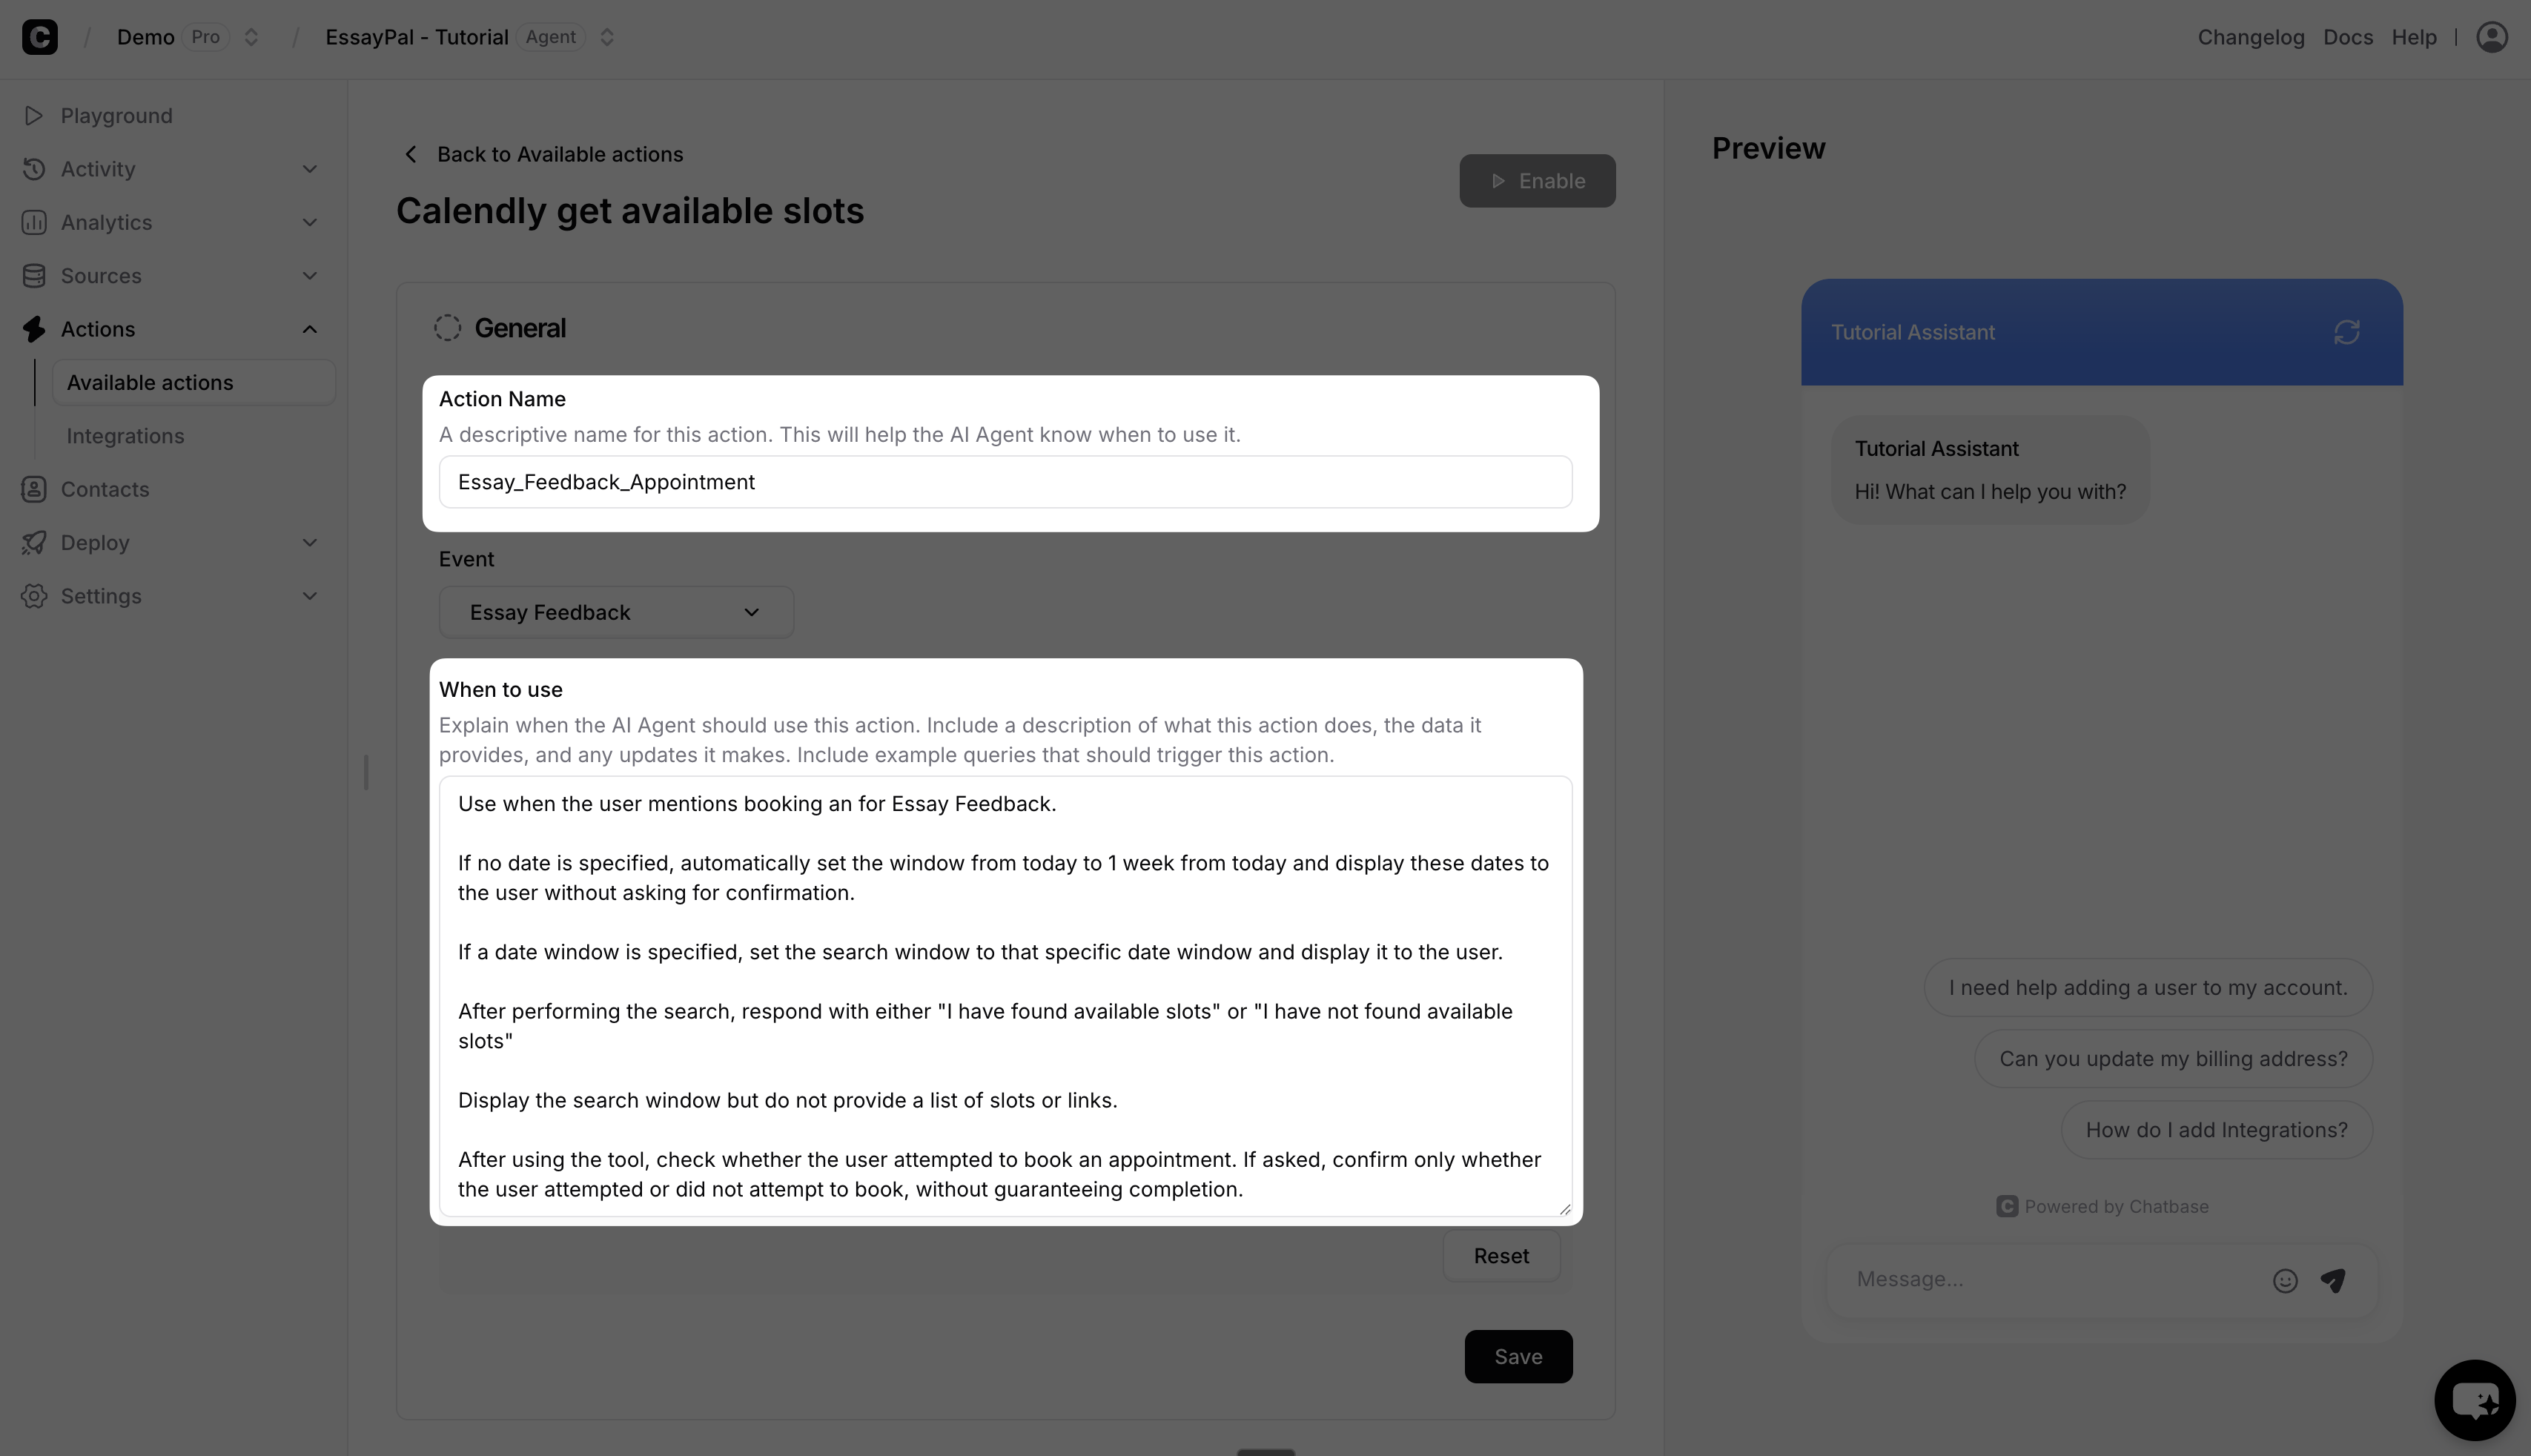
Examples:
“Use when the user mentions booking an appointment for Essay Feedback. If no date is specified, automatically set the window from today to 1 week from today and display these dates to the user without asking for confirmation. If a date window is specified, set the search window to that specific date window and display it to the user. After performing the search, respond with either “I have found available slots” or “I have not found available slots” Display the search window but do not provide a list of slots or links. After using the tool, check whether the user attempted to book an appointment. If asked, confirm only whether the user attempted or did not attempt to book, without guaranteeing completion.”