How to Embed ChatGPT on Your Website
Max T
11 min read

ChatGPT is all the rage. Since its launch in November 2022, the AI chatbot has rapidly emerged as one of the most powerful AI-powered tools on the internet. With its power comes its incredible popularity. But its true strength isn't just raw power, it's versatility. Need to convince someone to buy? ChatGPT can craft compelling sales copy. Drafting an email? It's got you covered. If there's something you need to do, and the solution can be represented in text form, there's a great chance that ChatGPT can handle it.
This wide-reaching utility is why ChatGPT is being adopted by individuals and businesses across different industries. And it's not just a gimmicky tool, it is delivering real value and benefits. Now imagine if ChatGPT's capabilities could be embedded directly on your website. Suppose you could integrate ChatGPT’s question-answering prowess into your website, where it could provide a range of solutions in the same natural, free-flowing, and conversational way that ChatGPT already does. Visitors could get instant answers to any questions about your business or website features, eliminating the need for frustrating searches or delayed support tickets. For instance, if you operate a design business, a ChatGPT-powered chatbot can provide personalized product recommendations, answer design-related inquiries, and help streamline your order process. The result? improved customer experience, increased sales, and a more dynamic and engaging website experience for your visitors.
So, if you own a website or plan to build one, ChatGPT could be a fantastic addition to your toolkit. But how do you embed ChatGPT on your website? Curious? Here's how.
How to Add ChatGPT to Your Website
While you can embed ChatGPT functionality on your website, you can't bring it over in the exact form you see on the official ChatGPT website. Instead, you'll be harnessing ChatGPT's core power to build your own custom chatbot. The good news? This lets you tailor the entire experience to match your website's design and functionalities perfectly. It also means you can create a chatbot that's truly unique to your brand and its needs.
That said, to integrate ChatGPT functionality into your website, you have two primary options:
- Using the official ChatGPT API provided by OpenAI
- Using a third-party AI chatbot development platform.
Both solutions offer unique advantages, but there are distinctions in the level of technical expertise required and the time it will take you to build and deploy it on your website.
Using OpenAI's API means you need to know how to write code and how to work with their specific ChatGPT API. This route can also take a good chunk of time to set up – we're talking anything from days to a month or more, depending on how complex you want to get. It's an effective option, no doubt, but it can also be a bit pricey and time-consuming.
The other path is using a third-party AI chatbot builder platform that gives you an easy way to access OpenAI's API. This option is generally quicker and simpler to get up and running. Depending on the platform, you could be deployed in minutes or a few hours, even without any coding skills needed. That makes third-party platforms the easier, cheaper, and more efficient way to go, especially for those without extensive technical expertise. But before you jump into signing up on an AI chatbot building platform, not all chatbot builders are created equal, so you'll want to do your research. This brings us to the first step in embedding ChatGPT on your website—choosing the right chatbot platform.
Step 1: Choose a Chatbot Builder Platform
Using AI chatbot builder platforms might be the easiest way to embed ChatGPT on your website, but you need to ensure the platform you choose has the features you need to truly replicate the power of the OpenAI chatbot on your website. So, what features should you look for?
- Uses OpenAI’s GPT-4, GPT-4-Turbo, and GPT-4O Models: One of the most important things that makes ChatGPT a powerful chatbot is its underlying GPT models. If you truly want to replicate the power of OpenAI’s ChatGPT chatbot on your website, you need to ensure the AI chatbot builder platform you choose uses OpenAI GPT models.
- Easy of Use: AI chatbot builders don't have to be complex to work well. You want an AI chatbot builder platform that's intuitive, easy to use, and can help you build your chatbot in a matter of minutes. Look out for chatbot builders that offer a drag-and-drop style builder or those where you only need to click a few buttons to get going.
- Customization Options: A user-friendly interface is great, but you also need control over the look and feel. Look for platforms offering customization options that allow you to tailor the chatbot's appearance to your brand identity.
- Free trial or demo: A free trial allows you to experiment and ensure the platform aligns with your comfort level and project requirements before committing to a paid plan.
- Integration options: Go for an AI chatbot builder that comes with a variety of integration options. This is especially important if you want to use your chatbot across multiple platforms. For instance, you should be able to integrate your chatbot tools like Zapier and Make.com as well as communication channels like WhatsApp and Slack.
- Robust reporting and analytics: Useful reporting and analytics features will help you identify areas for improvement and optimize your chatbot's effectiveness. Go for a chatbot builder that allows you to analyze data and track the performance of your chatbot.
- Scalability: Consider your future needs. Will your chatbot need to handle more users or increased complexity over time? Choose a platform that can scale with your business.
With that in mind, which chatbot builder should you choose?
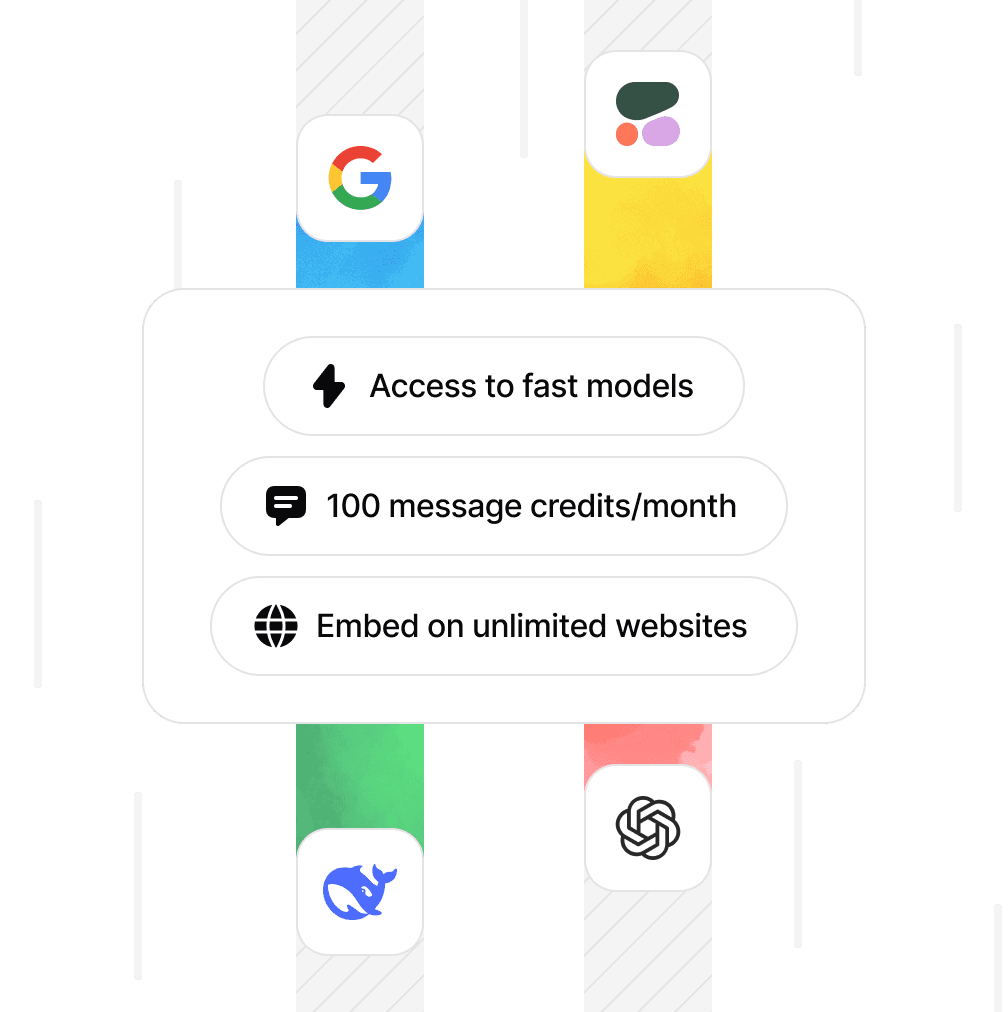
We recommend using Chatbase—a cost-effective and easy-to-use chatbot builder that offers all the above features. It is free to get started and supports integrations with dozens of platforms and messaging apps. What's more, Chatbase chatbots are versatile with many potential use cases. You can create a chatbot in minutes and leverage its rich analytics dashboard to achieve your website’s goals. Ready to deploy your first Chatbase ChatGPT chatbot? Here’s the next step to follow:
Step 2: Build and Train Your Chatbot
Since we’ve settled for Chatbase as our chatbot builder, we can now move on to building and training our chatbot on the Chatbase platform. To begin, you have to sign up for a Chatbase account. It’s free and takes just a few seconds. You can sign up here.
After creating a Chatbase account:
1. Sign in and Create a New Chatbot: Log in to your Chatbase account. You can typically start creating your chatbot right away. To do this, click on New Chatbot the page that comes up once you’ve logged in to get started.
![[object Object]](/_next/image?url=https%3A%2F%2Fcdn.sanity.io%2Fimages%2Fi6kpkyc7%2Fprod-dataset%2F9254658bf266e105f37a6f9e2e1ca007f179ab4e-1751x733.webp&w=3840&q=75)
2. Train Your Chatbot: Chatbase lets you add your own data to your chatbot, building on its existing knowledge. This could be information unique to your business, like product details or FAQs, or any data sets you think would be helpful. Once you've clicked on New Chatbot, the next thing is to train the chatbot. Chatbase offers different ways to train your chatbot. Here are your options:
1. Upload Files: You can upload training data from your computer in formats like PDFs or text files. Just click on the file upload feature, select your file, and click Create Chatbot.
![[object Object]](/_next/image?url=https%3A%2F%2Fcdn.sanity.io%2Fimages%2Fi6kpkyc7%2Fprod-dataset%2F09b8d9258a8106abc086c97965f5367a5620ea81-1879x882.jpg&w=3840&q=75)
2. Text Input: Train your chatbot with the text you provide directly. Click Text on the sidebar, type or paste your training data, and click Create Chatbot.
![[object Object]](/_next/image?url=https%3A%2F%2Fcdn.sanity.io%2Fimages%2Fi6kpkyc7%2Fprod-dataset%2Fce62295407b23cd3a7f4f090ecae0330901ff362-1749x748.jpg&w=3840&q=75)
3. Website Data: Use the website's content to train your chatbot. Click Website, enter the website URL, click Fetch link, and then Create Chatbot.
![[object Object]](/_next/image?url=https%3A%2F%2Fcdn.sanity.io%2Fimages%2Fi6kpkyc7%2Fprod-dataset%2Fa08989d81c2a91bad498d4899a80d753d6e103dd-1773x767.jpg&w=3840&q=75)
4. Q&A Manually: Teach your chatbot specific questions and answers. Click "Q&A" on the sidebar, click Add to create a question-answer pair, fill them in, and click Create Chatbot.
![[object Object]](/_next/image?url=https%3A%2F%2Fcdn.sanity.io%2Fimages%2Fi6kpkyc7%2Fprod-dataset%2F9fef68a68e26a2573bdf7cb5104f0f240d453742-1766x835.jpg&w=3840&q=75)
5. Use Your Notion: Click 'Notion' on the sidebar to connect your Notion account and train your chatbot with your Notion data. Then, click 'Create Chatbot' to proceed.
![[object Object]](/_next/image?url=https%3A%2F%2Fcdn.sanity.io%2Fimages%2Fi6kpkyc7%2Fprod-dataset%2F43a378bbf6c10847c579c227a8dd7ea2c1eb7eb9-1898x631.png&w=3840&q=75)
If you need more comprehensive help with creating a Chatbase chatbot, please refer to the following resources:
Step 3: Embed Your Chatbot on Your Website
After training your Chatbase chatbot, you’ll need to give your chatbot a suitable name and make some customization tweaks to make it more consistent with your website colors before embedding it on your website.
How to Name Your Chatbot:
To name your chatbot, head to the My chatbots page on your account and click on the chatbot you wish to edit. In the chatbot preview page:
- Click on the Settings tab at the top.
- Find the text box labeled Name at the bottom of the settings page.
- Type in a desired name for your chatbot.
- Click Save.
![[object Object]](/_next/image?url=https%3A%2F%2Fcdn.sanity.io%2Fimages%2Fi6kpkyc7%2Fprod-dataset%2F1c99bf3064b19e7177a1556974461a9ec07f185f-1757x747.jpg&w=3840&q=75)
How to Customize Your Chatbot:
To customize your chatbot:
- Click on Chat Interface on the sidebar within the Settings tab.
- Make your desired changes to the chatbot's appearance and configuration options. You can change the welcome message, the text colors and background within chats, your chatbot image, and several other appearance-related settings.
How to Embed Your Chatbot on Your Website
Once you’re done with customization, your chatbot should be ready to be embedded on your website. But there’s still one more thing to be done. To embed your chatbot on your website, you’ll need to generate and copy the chatbot embed code for your chatbot. To do this:
- From the Settings tab, click Embed on site.
- Two code snippets will be generated. This is what you’ll use to add the chatbot to your website.
- Copy either of the code snippets. If you want the chatbot to appear in the bottom right corner of your site, click on Copy Script. If you want the chatbot to appear as a full iframe on any page of choice, click on Copy Iframe.
- Paste the copied code snippet where you want the chatbot to appear on your website. If you used the Copy Script option, your chatbot should appear like the one below at the bottom of your website.
![[object Object]](/_next/image?url=https%3A%2F%2Fcdn.sanity.io%2Fimages%2Fi6kpkyc7%2Fprod-dataset%2Fa98619d695b54dc30a74447e2684839ba5c41248-1802x754.png&w=3840&q=75)
When a website visitor clicks to interact with chatbot, it should then look like:
![[object Object]](/_next/image?url=https%3A%2F%2Fcdn.sanity.io%2Fimages%2Fi6kpkyc7%2Fprod-dataset%2Fc700194e044a931e1d09fe9d12bcb86b8d68f1e9-1273x841.png&w=3840&q=75)
If you are using a website builder like One, Wix, or Squarespace, and not exactly sure where to add your chatbot embed code, don't worry, we have got you covered. Here are instructions to use your new ChatGPT embed:
- Embed ChatGPT on your Wix website.
- Embed ChatGPT on your Weebly website.
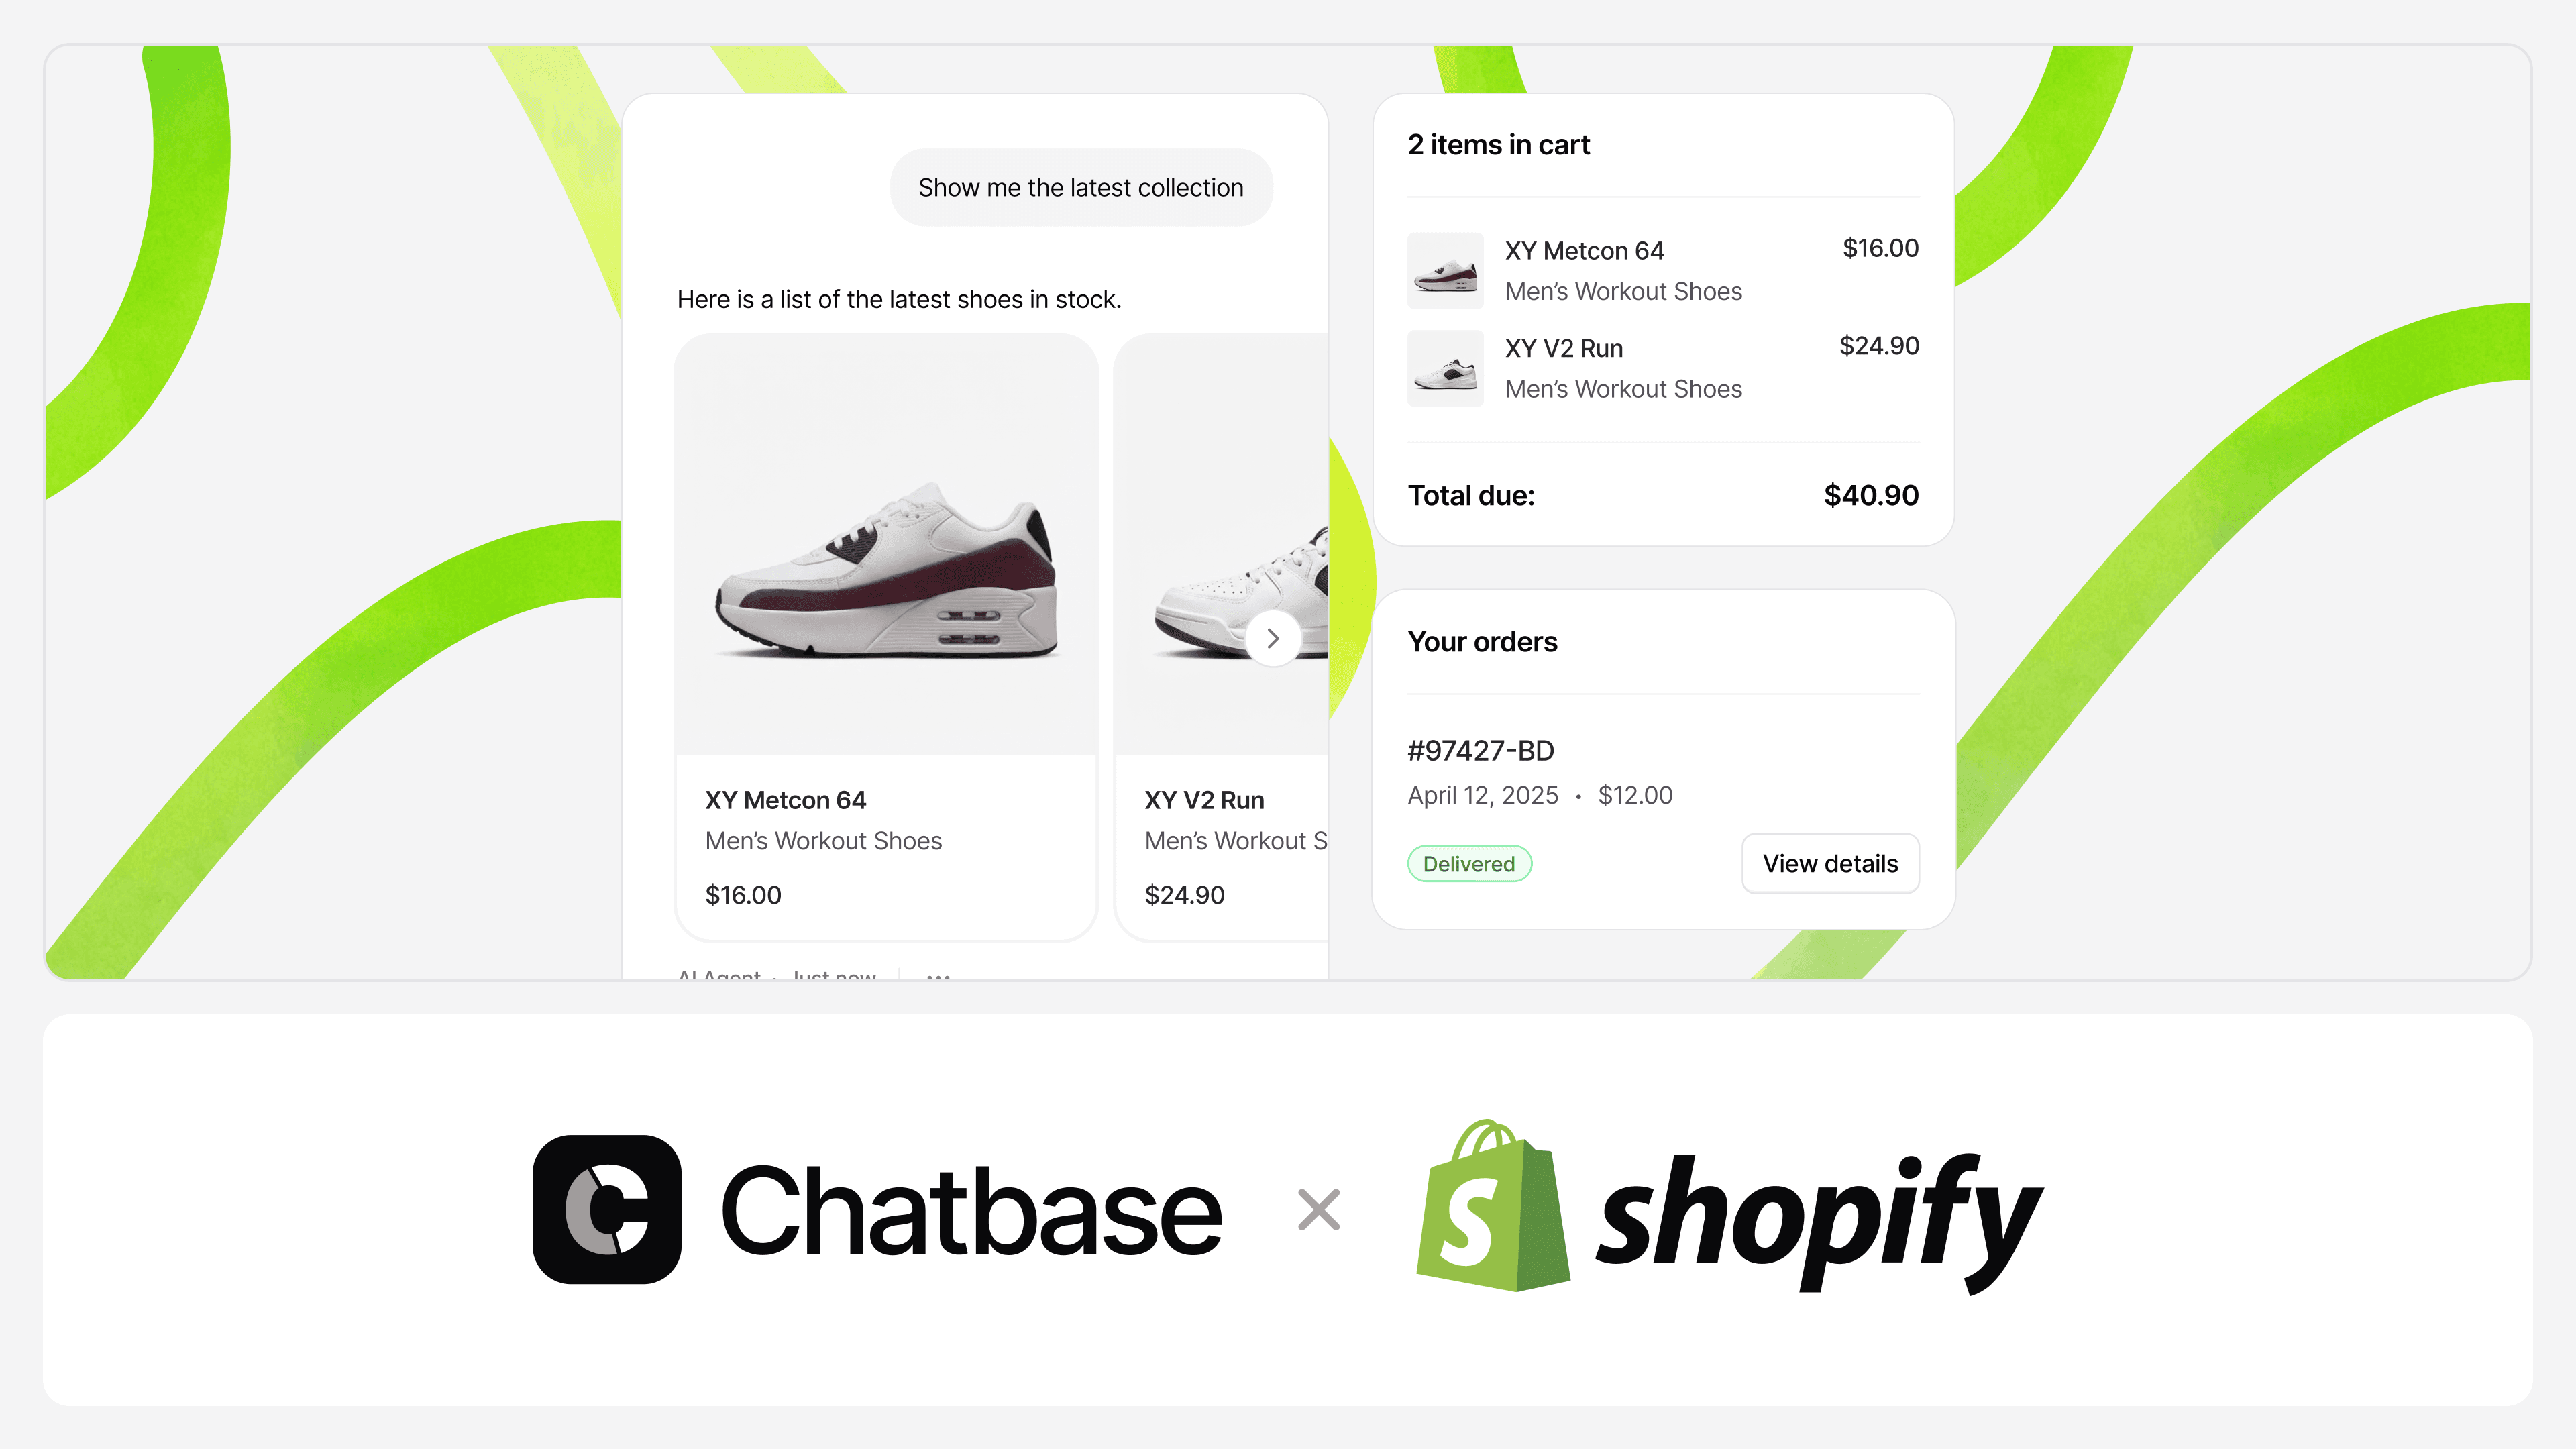
- Embed ChatGPT on your Shopify website
- Embed ChatGPT on your WordPress website.
- Embed ChatGPT on your Webflow website.
- Embed ChatGPT on your Bubble website.
- Embed ChatGPT on your Framer website.
With ChatGPT's remarkable capabilities now easily embeddable on your website thanks to user-friendly platforms like Chatbase, there's no reason not to leverage this powerful AI technology to optimize your online presence. By integrating a ChatGPT-powered chatbot, you can provide customers with an unmatched interactive experience – instantly answering their queries, guiding them through your products or services, and delivering a dynamic, engaging touchpoint that drives conversions and fosters brand loyalty.
Share this article: