Prerequisites
A website with the Chatbase embed script already installed and working.
New to Chatbase? Check out Your First Agent to get started with the embed script first.
Setting Up Custom Initial Messages
Configure initial messages using the JavaScript embed script to create personalized welcome experiences:Personalized Messages
Add user-specific content to your greetings by combining user identification with custom messages for personalized experiences: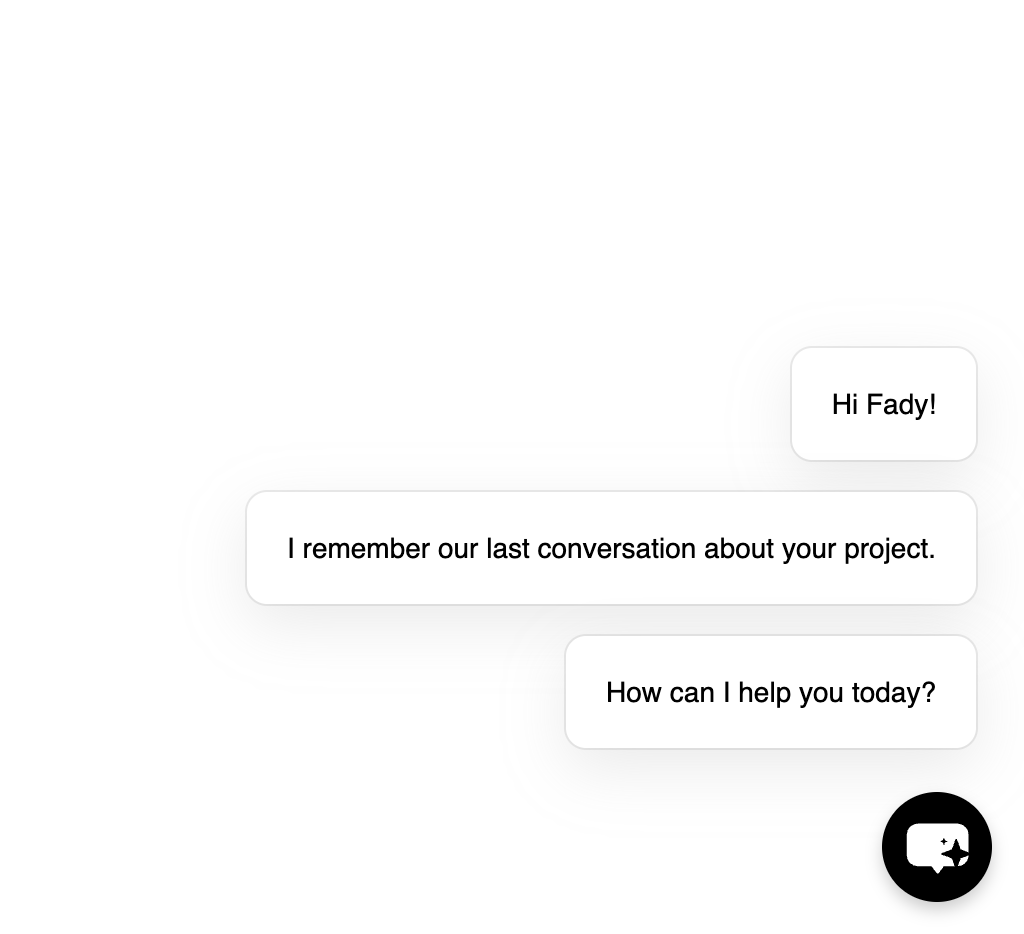
Dynamic Content Examples
Create context-aware messages based on user behavior or current page:Method Reference
setInitialMessages()
Set the messages displayed when the agent first loads:Array containing the messages to display in sequenceRequirements:
- Must be an array of strings
- Total character count limited to 1000 characters
Best Practices
Message Content
Message Content
Write effective initial messages
- Keep messages concise: Use short, clear messages that guide users effectively
- Avoid lengthy paragraphs: Break long content into multiple shorter messages
- Be specific: Mention what you can help with rather than generic greetings
- Use action-oriented language: Encourage users to engage with specific questions
Personalization Strategy
Personalization Strategy
Use user data thoughtfully
- Respect privacy: Only use information users have explicitly shared
- Add value: Personalization should enhance the experience, not just show off data
- Handle missing data: Always have fallback messages for when user data isn’t available
- Test thoroughly: Verify personalized messages work with different user states
Timing and Performance
Timing and Performance
Optimize when messages are set
- Set early: Configure initial messages as soon as possible in your application lifecycle
- Wait for embed script: Ensure Chatbase script has loaded before calling
setInitialMessages - Consider async operations: If fetching user data, handle loading states gracefully
- Cache when appropriate: Store computed messages to avoid recalculating on every visit