> ## Documentation Index
> Fetch the complete documentation index at: https://chatbase.co/docs/llms.txt
> Use this file to discover all available pages before exploring further.
# Stripe
Integrating Stripe with Chatbase allows your custom agent to access and display key billing information directly to users, enhancing customer support and transparency. With this integration, your agent can securely retrieve and show users their subscriptions and invoice history, streamlining common billing inquiries. This setup provides a fast, automated way to manage subscription details, while giving users a clear view of their payment status and history—all within the chat experience. This guide will walk you through the steps to connect Stripe to your Chatbase agent, enabling smooth and secure access to subscription and invoice data.
## Step 1: Access and Configure Your Chatbase Chatbot
These steps assume that you have already created a Chatbase account and that you have a Chatbase agent already available for use. If you haven't yet, [create a free Chatbase account](https://www.chatbase.co/auth/signup) and build your first AI agent. For example, you can create a company FAQ agent to handle common employee questions or build a recruiting assistant to screen candidates and schedule interviews. Get your agent ready before moving to the integration.
**Read More:** [A step-by-step guide to creating a Chatbase agent in just a few minutes](/user-guides/quick-start/your-first-agent).
## Step 2: Locate the Stripe Integration
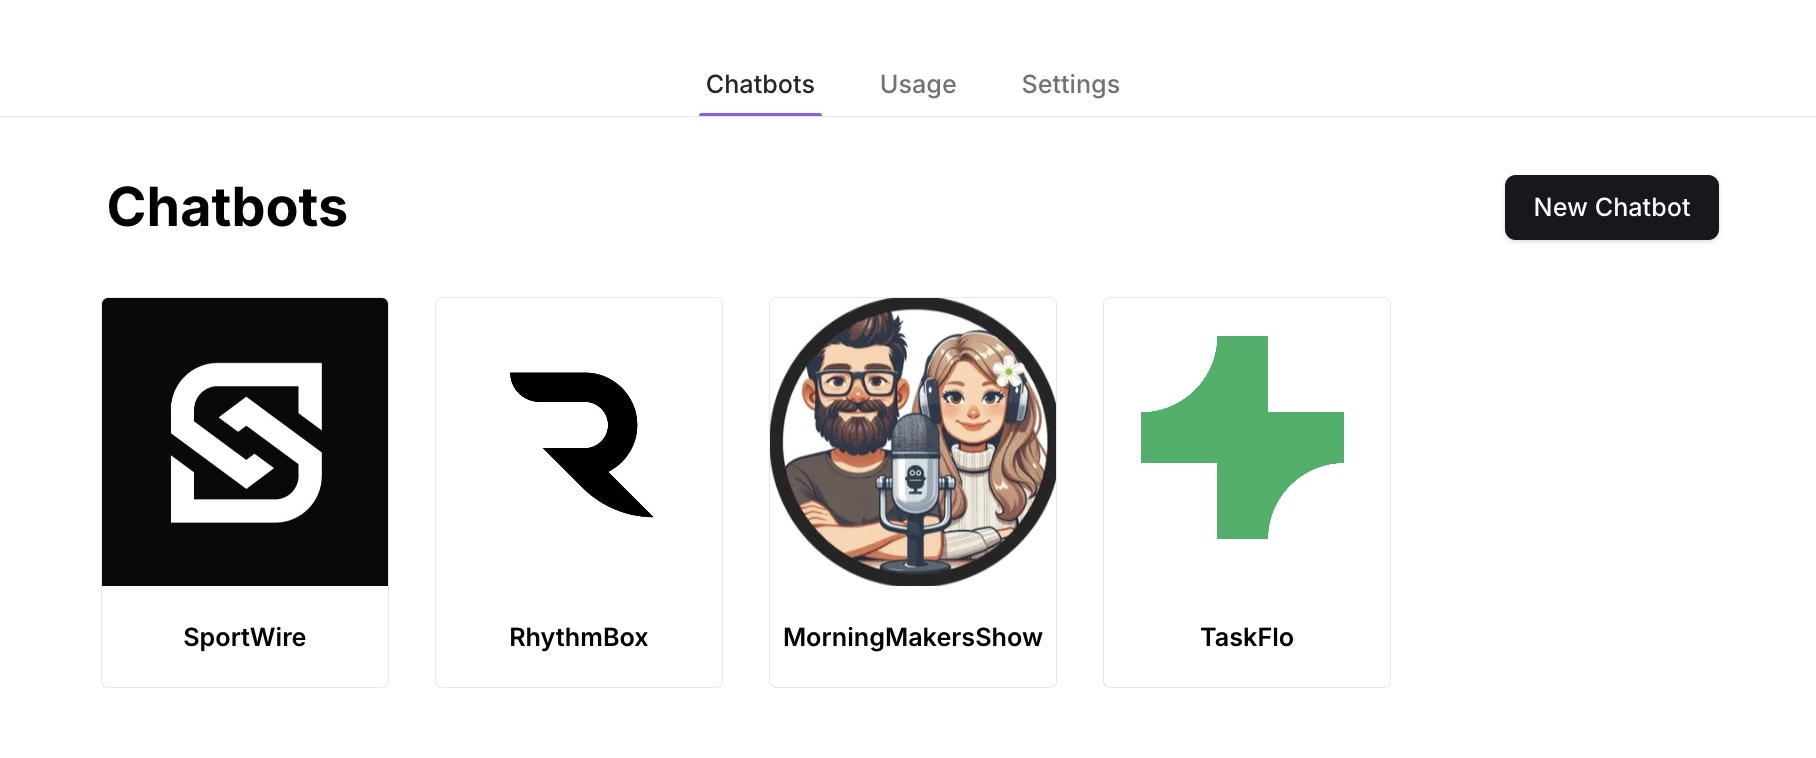
1\. Once you have a Chatbase account and a agent set up, head over to your [dashboard](https://www.chatbase.co/dashboard/). On your dashboard, you'll find a list of all the agents you have created. Locate and click on the agent you wish to integrate with Stripe.
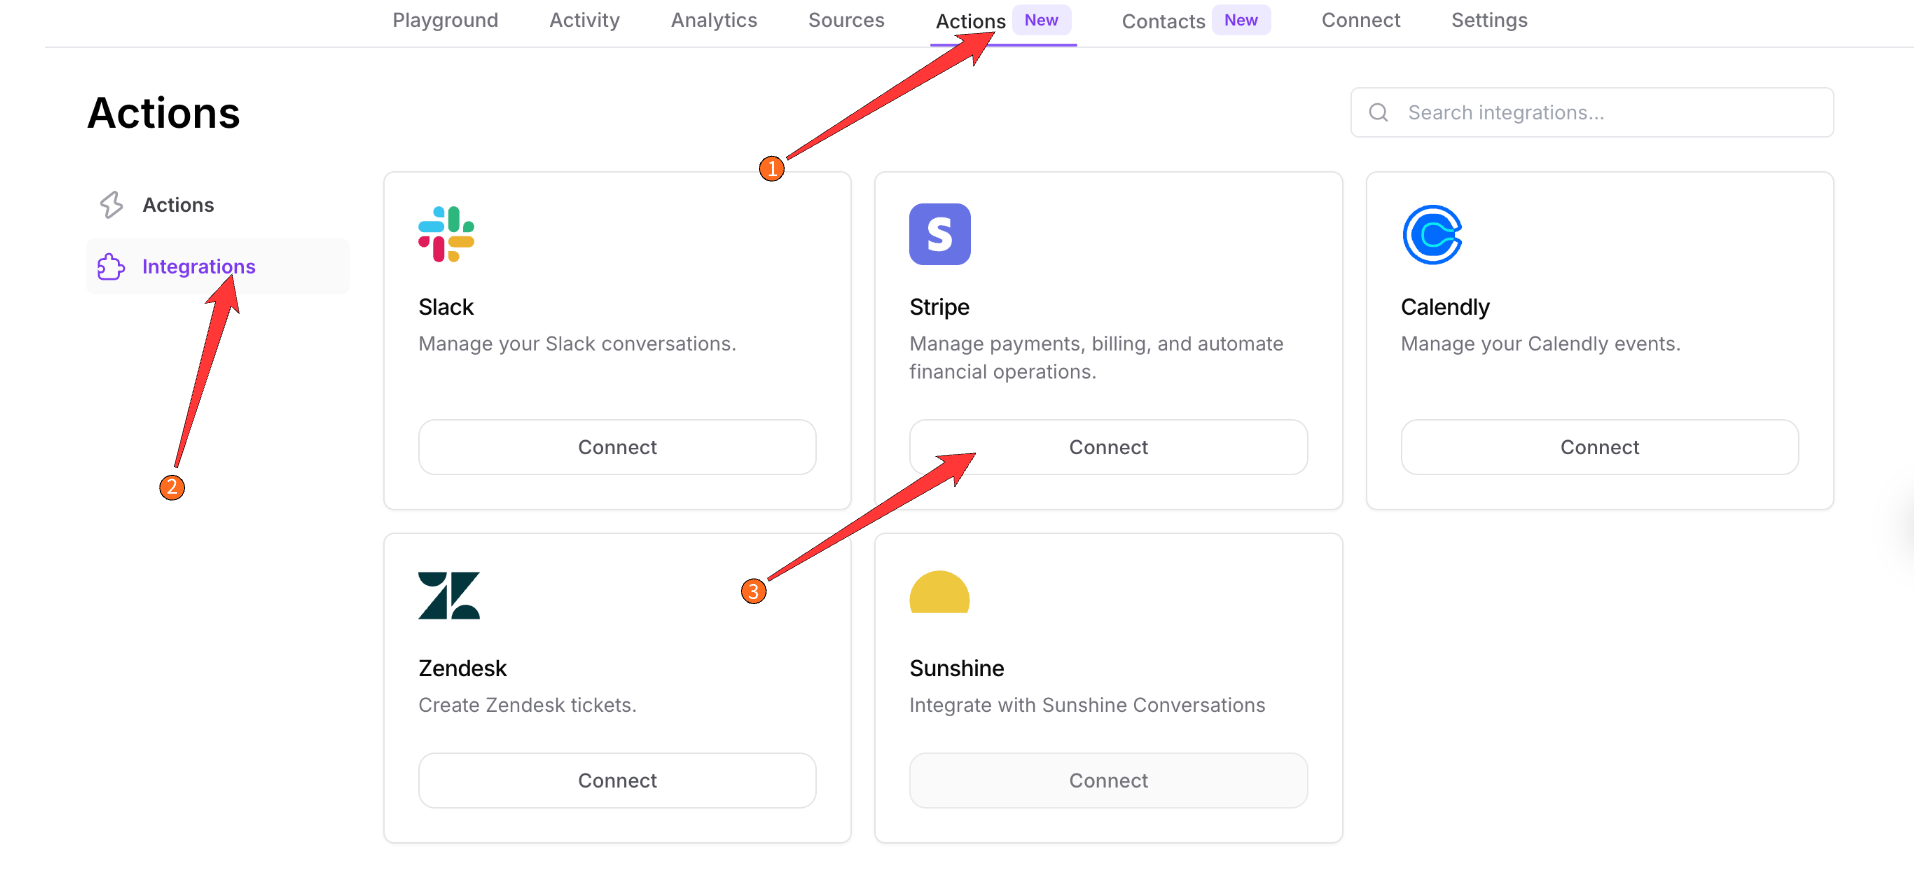
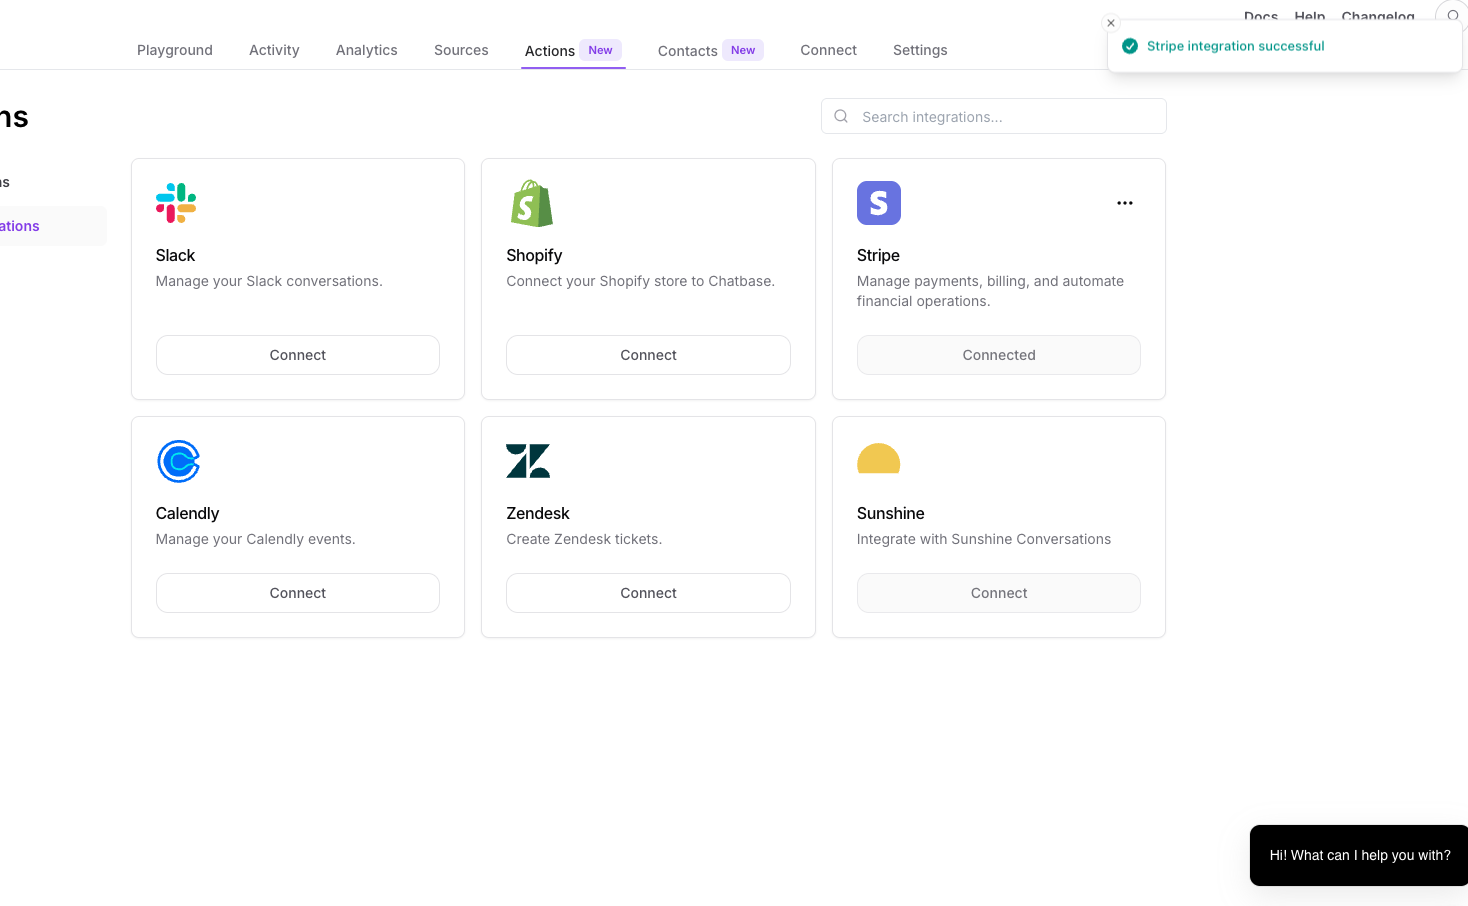
 2\. After clicking on a agent, the agent preview page should come up, click on **Actions** at the top of the page and then the **Integrations** tab on the left side of the page. This will take you to a page with a list of integration options.
3\. Click on **Connect** under the Stripe card
2\. After clicking on a agent, the agent preview page should come up, click on **Actions** at the top of the page and then the **Integrations** tab on the left side of the page. This will take you to a page with a list of integration options.
3\. Click on **Connect** under the Stripe card
 4\. Up next, you'll be asked to authorize Chatbase to access your Stripe account.
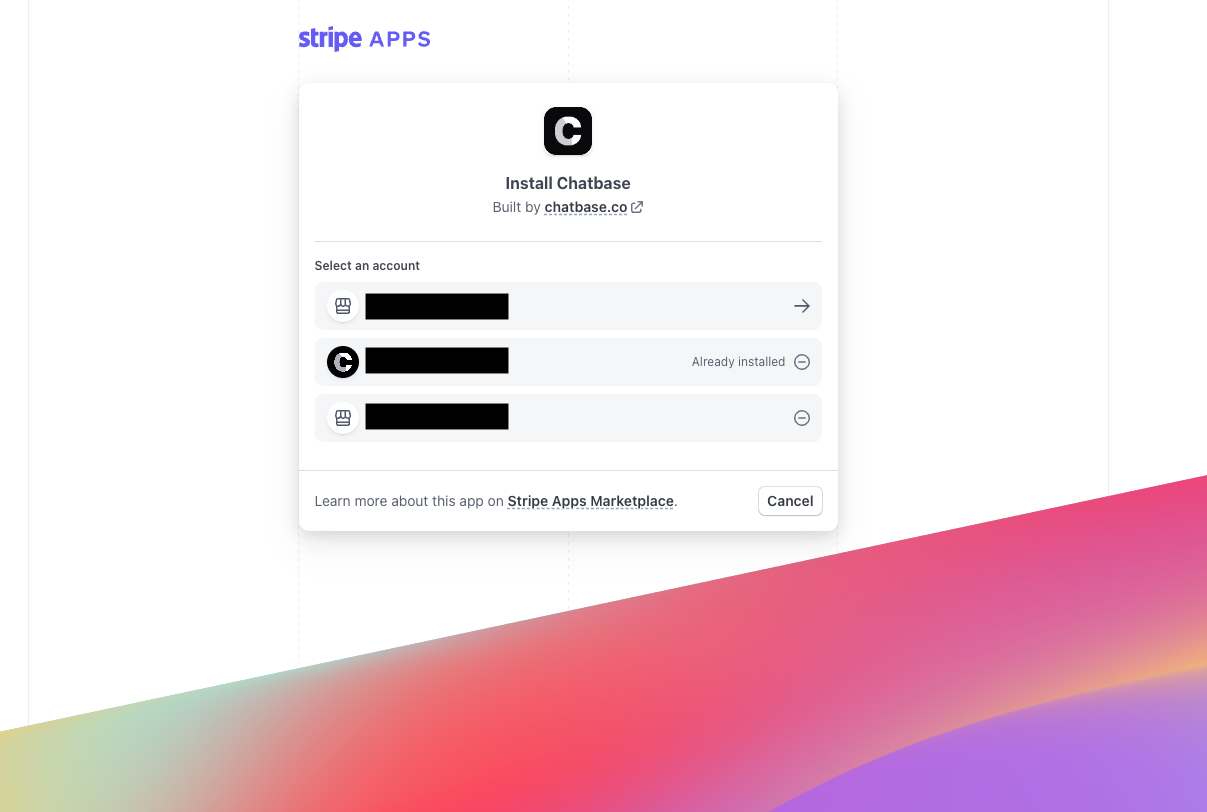
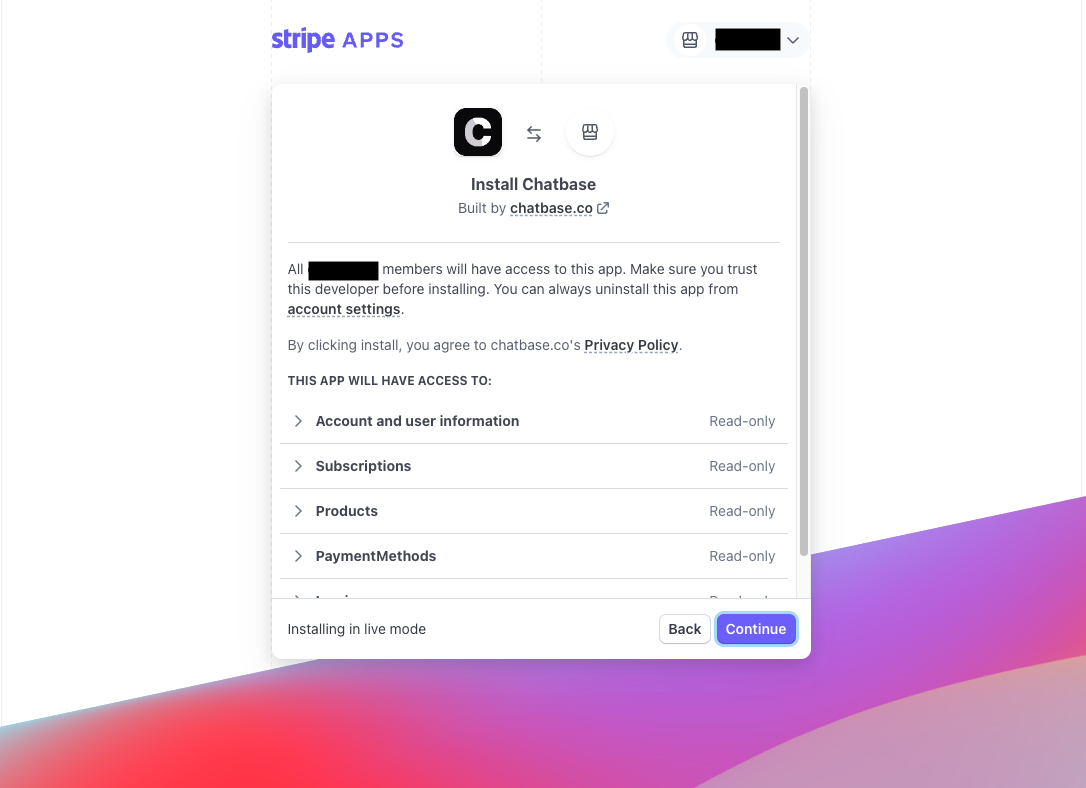 5\. After clicking on **Continue** you will be asked to choose the account you want to connect to.
 5\. If all goes well, you should be redirected back to Chatbase with a message saying "**Stripe integration successful.**"
 6\. Add Stripe accounts to your customers' contacts. For more information, see [Contacts](/developer-guides/api/contacts/contact).
## Step 3: Start Chatting!
That's it! Your Chatbase agent is now integrated and ready to provide superb customer support.
6\. Add Stripe accounts to your customers' contacts. For more information, see [Contacts](/developer-guides/api/contacts/contact).
## Step 3: Start Chatting!
That's it! Your Chatbase agent is now integrated and ready to provide superb customer support.